Maintaining clean air ducts is a key factor in ensuring a healthy, efficient HVAC system and improving indoor air quality. While many homeowners opt for professional duct cleaning services, there’s also a lot you can do yourself to keep your air ducts in good condition. At Prime Home HVAC in York, PA, we’re committed to helping you maximize the performance of your HVAC system. In this post, we’ll guide you through the basics of DIY duct cleaning, sharing expert tips, essential tools, and proven techniques that can make a real difference in your home’s air quality and energy efficiency.
Why Duct Cleaning Matters
Your HVAC system circulates the air you breathe every day, and over time, dust, allergens, and other debris can accumulate in your air ducts. This buildup can lead to several issues:
- Reduced Airflow and Efficiency: Clogged ducts force your HVAC system to work harder, increasing energy consumption and utility bills.
- Poor Indoor Air Quality: Dust, pet dander, and pollutants can become airborne, potentially aggravating allergies and respiratory conditions.
- Unpleasant Odors: Mold and mildew growth in dirty ducts can lead to musty smells throughout your home.
- Increased Wear and Tear: Debris in your ducts can cause your HVAC components to deteriorate faster, leading to more frequent repairs.
Regular duct cleaning is essential for maintaining a comfortable and healthy living environment, and a DIY approach can be a cost-effective way to manage this maintenance between professional cleanings.
Essential Tools for DIY Duct Cleaning
Before you begin, it’s important to gather the right tools to ensure a thorough cleaning. Here are some essential items to have on hand:
- Vacuum Cleaner with HEPA Filter: A high-powered vacuum with a HEPA filter is crucial for effectively removing dust and allergens from your ducts.
- Extension Wands and Hose Attachments: These accessories help you reach deeper into your ducts to ensure you capture as much debris as possible.
- Microfiber Cloths and Brushes: Use these to wipe down accessible surfaces within the duct openings and vents.
- Compressed Air or Air Blower: If available, compressed air can help dislodge stubborn dust and debris.
- Screwdrivers and Basic Hand Tools: You may need these to remove vent covers or access certain areas of your ductwork.
Step-by-Step DIY Duct Cleaning Process
1. Preparation and Safety First
Before you begin, turn off your HVAC system to avoid circulating dust during the cleaning process. Lay down protective covers around your work area to catch any falling debris. Wearing a dust mask, gloves, and safety glasses is recommended to protect yourself from airborne particles.
2. Remove and Clean Vent Covers
Start by removing the vent covers from your walls or floors. Soak them in warm, soapy water and scrub with a brush to remove any buildup. Allow the covers to dry completely before reinstalling them. This simple step can significantly improve the overall cleanliness of your HVAC system.
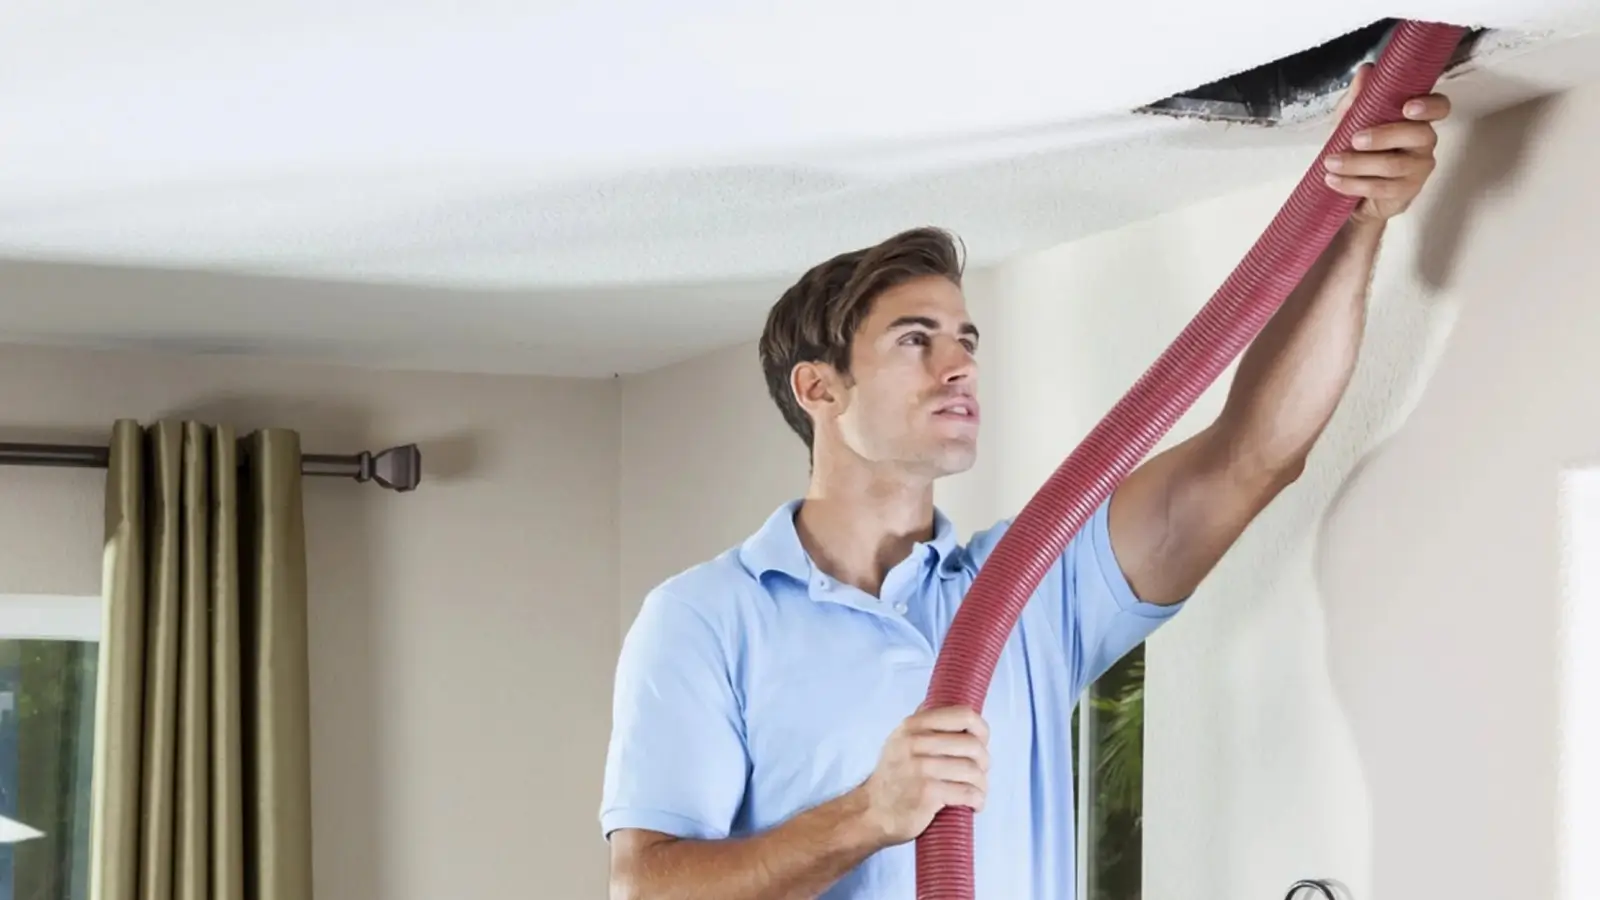
3. Vacuum the Ducts
Using your vacuum cleaner equipped with a HEPA filter and appropriate hose attachments, carefully insert the hose into the duct openings. Extend the hose as far as possible and move it back and forth to dislodge dust and debris. Focus on areas where buildup is visible or suspected. If you have extension wands, use them to reach deeper into the ducts.
4. Use Compressed Air
For ducts with stubborn debris, consider using compressed air to blast away particles. Direct the airflow into the duct, which can help dislodge dust and push it toward the vent openings for easier vacuuming. This method works well in conjunction with your vacuuming efforts to ensure a more thorough clean.
5. Wipe Down Duct Interiors (Where Accessible)
In some cases, you may have access to larger sections of your ductwork. Use a microfiber cloth to wipe down these areas, ensuring that any residual dust is removed. For inaccessible areas, rely on the vacuum and compressed air methods.
6. Reassemble and Final Check
After cleaning, reattach your vent covers and run your HVAC system for a short period to help circulate clean air through the ducts. Check for any remaining dust or debris and repeat the process if necessary. Regular inspection and cleaning of your ducts can help maintain optimal performance over time.
Additional Tips for Maintaining Clean Ducts
- Regular Filter Replacement: Changing your HVAC filters every 1-3 months is crucial in reducing dust buildup in your ducts.
- Schedule Professional Cleaning: While DIY methods can be effective, professional duct cleaning every few years can provide a more comprehensive solution, especially for hard-to-reach areas.
- Monitor Indoor Air Quality: Use an indoor air quality monitor to track the levels of dust and allergens in your home, which can help you determine if more frequent cleaning is needed.
The Prime Home HVAC Advantage
At Prime Home HVAC, we’re dedicated to helping you achieve the best performance from your HVAC system. Our team in York, PA, not only provides professional duct cleaning services but also offers expert advice on DIY maintenance techniques. By combining professional support with your own efforts, you can create a healthier, more efficient home environment.

Conclusion
DIY duct cleaning is a practical and cost-effective way to enhance your indoor air quality and maintain your HVAC system’s efficiency. With the right tools and a clear, step-by-step approach, you can significantly reduce dust, allergens, and debris in your air ducts. Whether you choose to perform regular DIY cleaning or schedule professional maintenance, the key is to stay proactive and committed to a cleaner, healthier home.
If you have questions or need further assistance with your duct cleaning efforts, Prime Home HVAC is here to help. Visit our website or contact our York, PA office today to learn more about our comprehensive HVAC services and discover how we can support your efforts in maintaining a pristine indoor environment.


