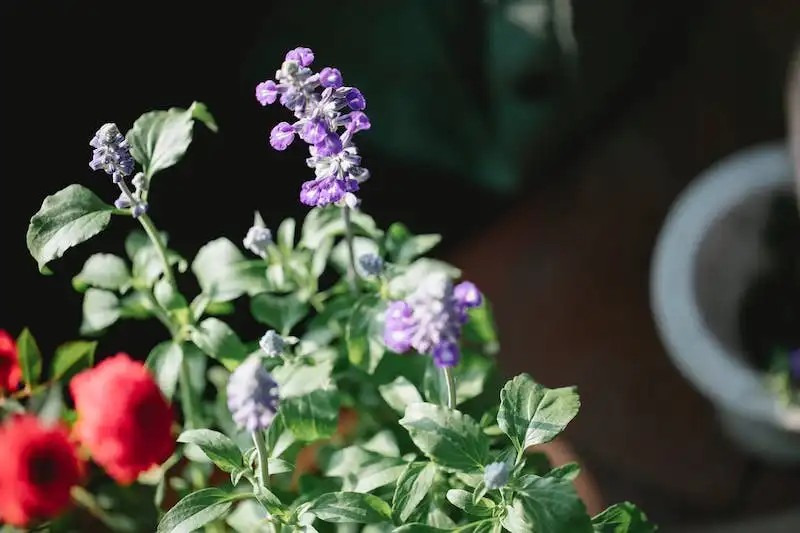
For many gardeners, propagating hydrangeas is a rewarding and satisfying way to enjoy this beautiful flowering plant. Some enjoy mastering the art of propagation and find joy in growing new hydrangeas from cuttings or divisions. Others simply want to expand their hydrangea collection or share their plants with friends and family. No matter the reason, propagating hydrangeas is a simple and flexible method that allows you to create multiple plants from a single parent.
There are several methods recommended for propagating hydrangeas, but the simplest and most commonly used method is through softwood or hardwood cuttings. Softwood cuttings are taken in early summer, while the new growth is still soft and flexible. Hardwood cuttings, on the other hand, are taken in late autumn or early spring, when the stems have hardened.
To propagate hydrangeas from cuttings, you will need a sharp, clean pair of pruners or scissors, a planting medium such as perlite or a mixture of peat moss and sand, a planting tray or pots, and plastic to create a humid environment. First, select a healthy stem to take cuttings from and make a clean, angled cut just below a node. Remove the lower leaves, leaving only a few at the top. Dip the cut end into rooting hormone, then insert it into the planting medium. Place the tray or pots into a plastic bag or cover it with a plastic dome to create a humid environment.
The cuttings should be kept in a warm, bright location, but not in direct sunlight. Mist the cuttings with water every couple of days and check for root development after a few weeks. Once the cuttings have rooted, they can be potted into individual pots or planted directly into the ground. It’s important to water the newly rooted plants thoroughly and provide them with proper care to ensure their health and growth.
Propagation of hydrangeas can also be done through division. This method is often used with older, established plants that have formed multiple stems and become crowded. To divide a hydrangea, dig up the entire plant and use a sharp knife or garden spade to separate the root ball into smaller sections. Each section should have at least one stem with roots attached. Replant the divisions in a well-prepared soil, making sure to water them deeply.
Whether you choose to propagate hydrangeas from cuttings or division, the key to success is patience and care. It may take some time for the new plants to establish and begin flowering, but with proper attention and treatment, you can enjoy the satisfaction of watching your hydrangea collection grow.
If you are a gardener who enjoys propagating plants, or if you simply want to expand your hydrangea collection, propagating hydrangeas is a simple and rewarding process. By following the steps outlined above, you can propagate new hydrangeas from cuttings or divisions and watch them grow into beautiful and healthy plants. With a little patience and care, you can become a master at propagating hydrangeas and enjoy the beauty of these rosy – or white – flowering plants in your garden for years to come.
So why not give hydrangea propagation a try? With a few simple steps and a little patience, you can create multiple plants from your favorite hydrangeas, enjoy the satisfaction of growing something new, and share your plants with others. Who knows, you may even discover a new passion for propagating plants!
Grow Hydrangeas from Stem Cuttings in 5 Simple Steps
Hydrangeas are beautiful flowering plants that can add a pop of color to your garden. If you want to propagate hydrangeas and create new plants, one of the easiest methods is through stem cuttings. Follow these simple steps to successfully grow hydrangeas from stem cuttings.
- Gather your materials: To propagate hydrangeas from stem cuttings, you’ll need a few tools and supplies. This includes a pair of sharp gardening shears or pruners, a rooting hormone to encourage root growth, a dibble or pencil for creating holes in the planting medium, a medium-sized pot or container, and a well-draining soil mix.
- Select the right stems: Look for flexible, softwood stems on the hydrangea plant that are about 4-6 inches long. These stems should have at least two sets of leaves and be free from any signs of disease or pests. Cut the stems just below a node, which is where leaves or branches grow from the stem.
- Prepare the stems for planting: Remove the leaves from the lower half of each stem, leaving only a few leaves at the top. If the leaves are large, you can also cut them in half to reduce moisture loss. Dip the bottom end of each stem in rooting hormone, following the instructions on the product. This will help stimulate root growth.
- Plant the stems: Fill your pot or container with a well-draining soil mix. Make small holes in the soil using a dibble or pencil. Gently insert the bottom end of each stem into a hole, making sure it is firmly in place. Space the stems a few inches apart to allow for growth. You can also use a plastic tray with individual sections to plant multiple stems.
- Provide the optimal conditions: Hydrangeas need a moist and humid environment to root successfully. Water the soil until it is evenly damp, but not soaking wet. Cover the pot or tray with a plastic bag or use a humidity dome to create a greenhouse effect. Place the container in a warm, bright area that receives indirect sunlight. Check the soil regularly and water as needed to keep it moist.
Follow these steps and be patient. It may take a few weeks for the hydrangea cuttings to root and establish themselves. Once you see new growth and roots forming, it is a sign that the propagation was successful. You can then carefully remove the plastic covering and continue to care for your new hydrangea plants.
Propagation through stem cuttings is a beginner-friendly and effective method for creating new hydrangea plants. It allows you to reproduce your favorite hydrangea varieties and expand your garden. With the right tools, materials, and care, you can enjoy the satisfaction of growing hydrangeas from cuttings and see beautiful blooms in no time.
How to Propagate Hydrangeas from Clippings
If you’re a fan of hydrangeas and want to propagate more of these beautiful flowering shrubs, you’re in luck! There are 3 simple methods to propagate hydrangeas from clippings, and in this article we will walk you through each step.
Step 1: Gather and Prepare the Clippings
Start by gathering healthy and vigorous softwood clippings from the hydrangea plant. Cut the clippings just above a leaf node, where there is a chance for new roots to form. Make sure to use a clean and sharp knife or pruning shears to make clean cuts, as this will increase the chance of success. Remove any flowering stems or leaves from the clippings as well.
Step 2: Treat and Prepare the Clippings
Before planting the clippings, it’s recommended to treat the cut ends with a rooting hormone to promote root development. Simply dip the cut ends in the hormone, following the instructions on the product packaging. Once treated, prepare a propagation medium by mixing equal parts of perlite and peat moss. Moisten the medium with water, making sure it’s damp but not soaking wet.
Step 3: Plant and Care for the Clippings
Using a dibble or a simple stick, create a hole in the propagation medium and insert the hydrated cuttings into it. Make sure at least 2-3 nodes are buried in the medium, as this will provide optimal conditions for root development. Gently press the medium around the stem to make sure it’s firmly in place. Repeat this process for all the clippings.
Once all the clippings are planted, cover the container or tray with a plastic dome or plastic wrap to create a mini greenhouse effect. This will help retain moisture and create a humid environment for the cuttings to root. Place the container in a warm and bright location, but out of direct sunlight. Keep the medium consistently damp by watering from below, pouring water into the tray and allowing the medium to absorb it.
Tips for Success
- Choose softwood clippings from a healthy and flowering hydrangea plant.
- Make clean cuts just above a leaf node to promote root development.
- Use a rooting hormone to increase the chance of success.
- Prepare a well-draining propagation medium with equal parts perlite and peat moss.
- Keep the medium consistently damp, but not soaking wet, to prevent rot.
- Provide a warm and bright location for the cuttings, but not in direct sunlight.
- Be patient, as it may take several weeks or even months for the cuttings to root and grow.
By following these simple steps and tips, you’ll be able to propagate your own hydrangeas from clippings and enjoy more of these beautiful flowering shrubs in your garden. Happy gardening!
Propagate Hydrangea
The propagation of hydrangeas can be a rewarding endeavor. With a little knowledge and some basic tools, you can easily start new plants from existing ones. Below are some methods to propagate hydrangeas.
Method 1: Softwood Cuttings
This is a popular method for propagating hydrangeas. Start by gathering softwood stems in the morning, when they are most flexible. Using a sharp knife, take cuttings from the stem just below a node. Remove any leaves from the lower nodes. Dip the end of the cutting in rooting hormone, if desired. Then, plant the cutting in a container filled with a well-draining soil mix. Keep the cutting hydrated and place it in a warm, bright location. Within a few weeks, roots should start to form, and you will have a new hydrangea plant.
Method 2: Division
If your hydrangea has become too large or has multiple stems, division is a great way to propagate it. In late winter or early spring, use a sharp spade to divide the plant into multiple sections. Each section should have its own root system and several shoots. Plant each section in a new location, making sure to water it well. Within a few weeks, the divisions will establish and start to grow.
Method 3: Seed Propagation
Seed propagation is another method to propagate hydrangeas. Collect seeds from mature hydrangea flowers. Sow the seeds in a container filled with moist soil. Cover the seeds lightly with soil and keep them hydrated. Place the container in a warm location with bright, indirect light. Within a few weeks, seedlings will emerge, and you can transplant them to individual pots.
No matter which method you choose, it is important to follow the proper steps and provide the optimal conditions for the hydrangeas to grow. With a little patience and care, you can propagate hydrangeas and enjoy the satisfaction of creating new plants.


