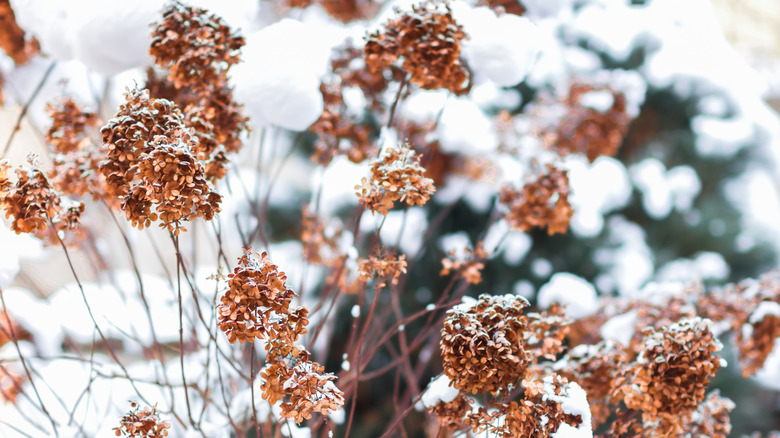
Hydrangeas are a sight to behold with their alluring white, pink, purple, or blue blooms. While most varieties, such as smooth, oakleaf, paniculata, and climbing hydrangeas, are winter hardy, other types require special TLC in order to produce healthy summer blooms the following year. Hydrangea macrophylla, including lacecap and mophead varieties, is one such type that needs extra care because its flower buds appear toward the end of the summer, unlike its new-wood growth counterparts. These late blooms are susceptible to frost damage, which necessitates winter protection.
To offset the impact of cool temperatures on hydrangeas, topdress their soil with compost during the fall season, which insulates the soil and adds the nutrients necessary for springtime growth. Deeply watering the soil pre-winter, followed by periodic irrigation during the winter, helps as well. However, to protect hydrangeas growing in extremely cold areas where temperatures dip below 0 degrees Fahrenheit, you must provide them with shelters like a cage or burlap blanket for added insulation. As for potted plants, bringing them indoors to the basement or garage is the right call. Further, while some may assume that trimming off dead branches may be a good idea in the fall or winter, it’s actually best to save this task until after the spring or summer. This is because you could accidentally cut off blooms.
Preparing hydrangeas for winter
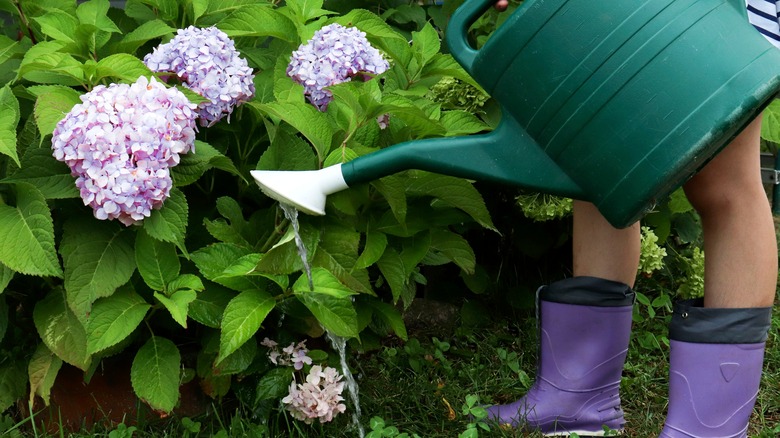
Even though your woody shrubs aren’t flowering in the cool season, they still need hydration. So, the first step to winterizing hydrangeas is to water them every couple of days during the fall season. This strengthens the roots even if the plants are exposed to harsh, drying winds. During winter, irrigate the plants once a month if the area experiences little to no rain and snow. However, if your hydrangeas grow in snow-laden gardens, you won’t need to water them, as the snow will produce enough moisture. If you bring your potted plants inside, only water them about once a month as well.
Further, add 2 to 3 inches of compost, preferably composed of wood ash and coffee grounds, to the plants’ base to improve the soil composition and enable the uptake of essential nutrients during the season. Once the ground freezes, top the compost layer with about 6 inches of mulch made up of oak leaves, pine straw, bark, or hay, as it helps retain moisture and protects the plant from heaving. However, you must remove the mulch once spring sets in to prevent the stems from rotting due to poor aeration.
Using hydrangea shelters in winter
YouTube
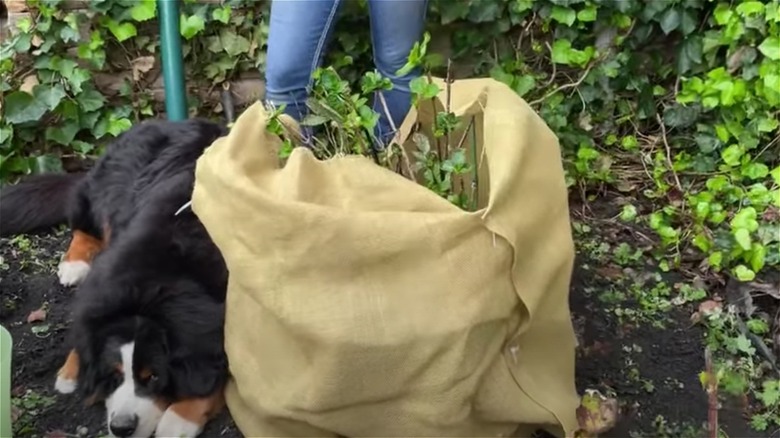
Another way to protect hydrangeas is to erect shelters around them at least a month before the first frost hits. Simply plant four wooden stakes about 3 to 4 inches deep into the soil around the hydrangeas, ensuring no root damage. Secure the stakes with chicken wire and add oak leaves to the structure. You can alternatively wrap the cage with burlap or garden fleece to achieve the desired insulation levels.
For extremely cold areas, you may want to cover your hydrangea shelter’s top with a cardboard piece after filling it to the brim with pine needles or leaves. This protects your plant’s buds further without weighing them down and eliminates the need for a mulch layer. Loosely wrapping your hardy plants with egg-crate foam and foil insulation is also an option, as long as the branches remain unharmed. For potted hydrangeas, consider moving them to a sheltered area during the winter, like along a wall or on a patio that still gets sunlight but less wind. However, when shifting isn’t an option, add water and mulch to their soil for better protection.

