Looking for a unique and exotic houseplant to add to your collection? Anthurium plants, also known as flamingo flowers, are a great choice. With their vibrant, heart-shaped blooms and glossy leaves, they can instantly breathe life into any space. But how do you go about growing and caring for these stunning plants? Here’s a complete guide to help you get started.
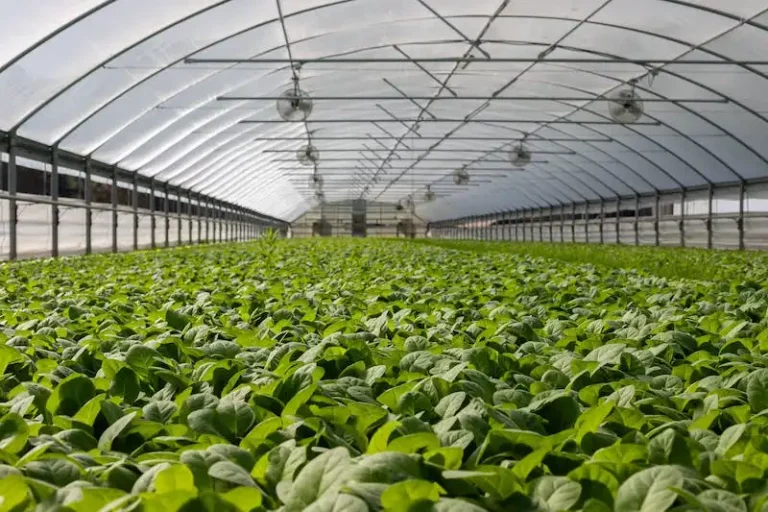
Originating from the rainforests of Central and South America, Anthuriums prefer a humid and warm environment. These plants thrive in bright, indirect sunlight, so it’s best to place them near a sunny window. While Anthuriums can tolerate lower light conditions, they won’t produce as many flowers or grow as vigorously. If you’re growing Anthuriums hydroponically, make sure to sterilize your tools and prepare a proper hydroculture setup.
When it comes to planting Anthuriums, they can be grown in soil or hydroponically. If planting in soil, choose a well-draining potting mix and ensure the pot has drainage holes. Anthuriums are susceptible to over-fertilization, so it’s best to fertilize them sparingly with a balanced fertilizer formulated for flowering plants.
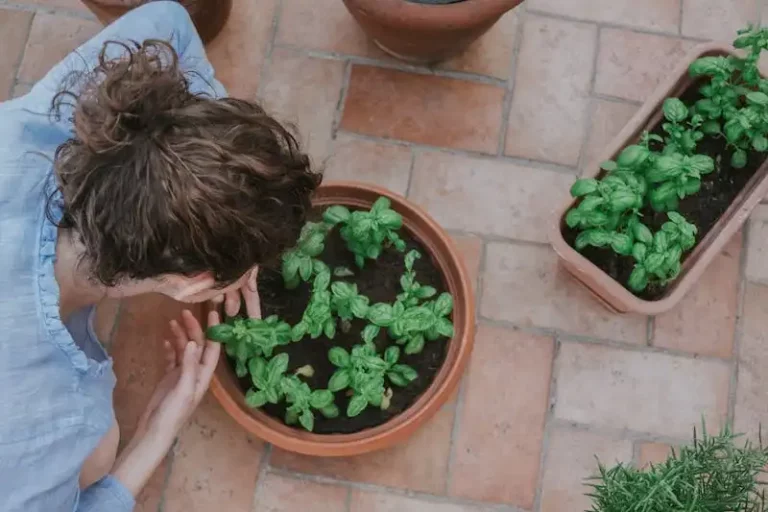
Once you’ve prepared the soil or hydroponic system, it’s time to plant your Anthurium. Gently remove the plant from its nursery pot, being careful not to damage the roots. If the roots are tightly packed, you may need to gently tease them apart. Place the plant in its new pot and backfill with soil or hydroponic medium.
After planting, water your Anthurium thoroughly, allowing the soil to dry out slightly between waterings. Anthuriums prefer to be kept evenly moist but can’t tolerate waterlogged soil. Additionally, it’s essential to provide adequate humidity for your plants. Misting the leaves or placing a tray with water nearby can help create a humid environment. Avoid spraying water directly on the flowers as it can cause them to rot.
While Anthuriums can produce flowers throughout the year, they usually bloom in cycles. The flowers are quite long-lasting, often staying on the plant for several weeks. If you want to encourage more blooms, remove any spent flowers and trim off any yellowing or dead foliage. Anthurium flowers can be harvested while they are still in bud form or once they have fully opened and the spadix is ripe. To pollinate Anthuriums, use a small paintbrush or cotton swab to transfer pollen from the stamen to the pistil.
If you’re interested in propagating your Anthurium, you have a few options. One method is to take stem cuttings, making sure to include at least one node. Dip the end of the cutting in a rooting hormone and place it in a well-draining potting mix. Within a few weeks, roots should start to sprout. Another method is to harvest seeds from ripe flowers and sow them in a seed-starting mix. This method requires more patience as it can take several months for the seeds to sprout.
In conclusion, Anthuriums are stunning plants that can be a joy to grow and care for. Whether you choose to grow them in soil or hydroponically, proper care and attention are needed to ensure their well-being. With the right conditions and some patience, you can enjoy the beauty of Anthurium plants in your home or office.
3 Best Methods For Anthurium Propagation
Propagating anthurium plants can be a rewarding experience that allows you to expand your collection and share the beauty of these exotic flowers with others. There are several methods you can choose from, depending on your preferences and the specific species of anthurium you are working with. Here are three of the best methods for anthurium propagation:
1. Division: This is the most common method of propagating anthurium plants and is generally the easiest for beginners. To propagate through division, start by sterilizing your tools to prevent the spread of pests or diseases. Carefully remove the anthurium plant from its pot and gently pull apart the rhizomes or roots. Ensure that each division has a few healthy leaves and a section of the root system. Then, plant the divided sections in their own pots with well-draining soil and provide them with the same care as mature plants.
2. Tissue Culture: This method involves the use of laboratory techniques to create multiple plantlets from a small piece of tissue from the desired anthurium species. It is more difficult and requires specialized equipment and expertise. If you are interested in tissue culture propagation, it is recommended to seek guidance from a professional or refer to specialized literature.
3. Stem Cuttings: Stem cuttings can be a relatively easy way to propagate certain anthurium species, such as Anthurium forgetii or Anthurium brownii. To propagate using stem cuttings, choose a healthy stem and make a clean cut just below a node. Remove any leaves from the lower half of the stem and dip the cut end in rooting hormone. Place the cutting in a well-draining potting mix and keep it in a humid location. After a few weeks, the cutting should develop roots and can be potted in its own container.
Remember to provide proper care for young anthurium plants to promote their growth and survival. Anthuriums prefer bright, indirect light and well-draining soil. Avoid over-fertilization, as it can damage the plants. Keep an eye out for pests and provide adequate drainage to prevent root rot. With these general guidelines and the specific instructions for each propagation method, you can successfully propagate anthuriums and enjoy their beautiful flowers for years to come.
Anthurium Propagation
Propagation is a common practice among Anthurium enthusiasts to increase their collection or share their plants with others. There are several methods to propagate Anthuriums, such as division, cuttings, and tissue culture.
- Division: Anthuriums can be divided when they become too big for their container, or when the mother plant has multiple stems. Carefully choose a well-lit and high place, then gently pull the plants apart. Each divided section can be placed in its own container, and soon new roots will form.
- Cuttings: An alternative method is to take stem cuttings from a healthy Anthurium plant. Choose a section of the stem that has at least two leaves, and cut it just below the node. Dip the cut end in rooting hormone, then plant it in a potting mix that’s well-draining, such as a mixture of perlite and peat moss. Keep the cutting in a warm and humid environment, and be patient as it gradually develops roots.
- Tissue culture: Tissue culture is a more advanced and controlled method of Anthurium propagation. It involves placing small sections of tissue from the plant into a growth medium that contains nutrients and hormones. This method allows for the rapid production of Anthurium plants and helps maintain the desired characteristics.
Regardless of the propagation method chosen, it’s important to remember to not over-fertilize the new plants. Anthuriums are sensitive to over-fertilization, which can cause their leaves to turn yellow. Therefore, it’s recommended to use a diluted fertilizer and follow the instructions on the label.
Propagation can be a rewarding process, as it allows you to expand your Anthurium collection or share your plants with others. By learning the different propagation methods and practicing patience, you can successfully propagate Anthuriums and enjoy the beauty of these tropical flowers.
Propagating Anthuriums
Anthuriums, also known as flamingo flowers, are beautiful tropical plants that can be easily propagated through various methods. Here is an overview of the different propagation techniques for anthuriums:
1. Propagation by Stem Cuttings: Carefully remove a healthy stem from the parent plant using clean, sharp blades. Make sure the stem is about 4 to 6 centimeters long, and ensure that it has at least two leaves attached. Place the stem in a well-drained tray filled with moistened tissue or perlite. Keep the tray in a warm and humid environment, and within a few days, roots will begin to develop. Once the roots have grown to a sufficient number and length, the stem can be potted in a well-draining soil mix.
2. Propagation by Division: This method is best for anthuriums that have multiple stems growing closely together. Carefully remove the plant from its pot and gently divide the plant into two or more sections. Each section should have its own stem and root system. Pot the divided sections in individual containers using a well-draining soil mix. This method allows you to create new plants while also rejuvenating the parent plant.
3. Propagation by Seeds: Anthuriums produce small white fruits that contain seeds. Once the fruit turns brown and begins to open, carefully remove the seeds. Plant the seeds in a moistened soil mix and keep them in a warm and humid environment. The seeds will germinate within a few weeks, and once they grow into seedlings, they can be transplanted to individual containers.
4. Propagation by Hydroponic Method: Anthuriums can also be propagated using the hydroponic method. This method involves growing the plants in a water-based nutrient solution instead of soil. The roots of the plant are suspended in the nutrient solution, which provides the necessary nutrients for growth. This method is commonly used in commercial settings and requires specific equipment and knowledge.
It is important to note that anthuriums are poisonous and can be an irritant to the skin and eyes. When handling the plants or propagating them, it is recommended to wear gloves and take necessary precautions. Anthuriums are relatively easy to propagate, and with the right care, you can enjoy a beautiful collection of these tropical plants in your home or garden.
1 By division
Division is the most common method to propagate Anthurium plants and ensure that they continue to thrive. This method involves dividing the plant into smaller parts, each with their own stem and root system, which can then be replanted and cared for as individual plants.
To begin the division process, start by removing the Anthurium plant from its pot. Gently loosen the soil around the roots to make it easier to separate the plant into sections. Look for natural divisions in the root system, where each part has its own stem and leaf growth. These divisions are known as “offsets”.
Once you have identified the offsets, carefully remove them from the main plant, making sure to keep the roots intact. Use a sharp and clean knife or scissors to cut through any connecting tissue.
Inspect the offsets to determine if there are any damaged or diseased parts. Remove these before replanting to ensure the new plants have the best chance of developing a healthy root system.
Before placing the offsets in their new pots or containers, it is recommended to let the cuttings dry out for a few days. This gives the wounds a chance to callus over, which helps prevent the risk of infection.
Prepare the new pots for the offsets by filling them with a well-draining potting mix. Anthurium plants prefer a soil mix that is rich in organic matter and retains moisture without becoming waterlogged.
Plant each offset in its own pot, making sure to position it at the same depth as it was in the original plant. Gently firm the soil around the roots to secure the plant in place.
After replanting, water the offsets thoroughly, but make sure to allow the soil to dry out slightly before the next watering. Anthurium plants are susceptible to root rot if they are kept in overly moist conditions.
Place the young Anthurium plants in a warm and brightly lit location, but avoid direct sunlight as this can scorch the leaves. Anthuriums prefer temperatures between 70°F and 90°F (21°C and 32°C).
As the new plants start to grow, it is important to provide them with regular fertilization. Use a well-balanced fertilizer specifically designed for Anthuriums, and follow the manufacturer’s instructions for application rates and frequency.
Anthurium plants benefit from a high-humidity environment, so misting the leaves with water or placing a tray of water nearby can help increase the moisture in the air. However, avoid getting water on the flowers themselves, as this can cause them to develop spots or rot.
With the right care and attention, your newly propagated Anthurium plants should begin to grow and thrive in their new pots. Enjoy the vibrant flowers and foliage that these beautiful plants are known for.
Remember to wear gloves when handling Anthurium plants, as they contain calcium oxalate crystals which can irritate the skin and eyes. Keep them out of reach of children and pets, as they are toxic if ingested.


