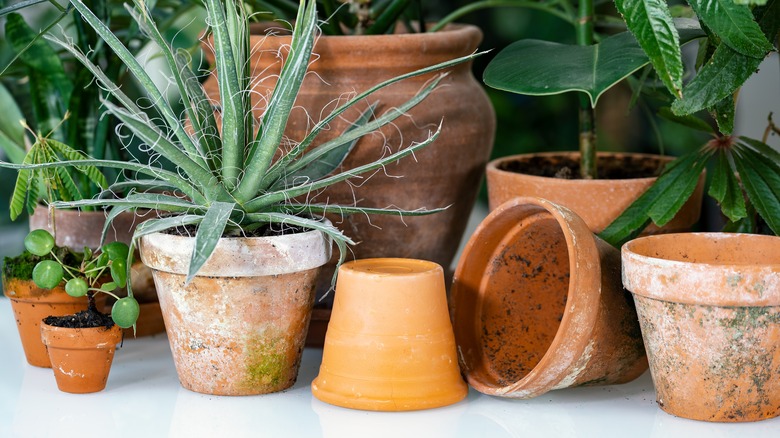
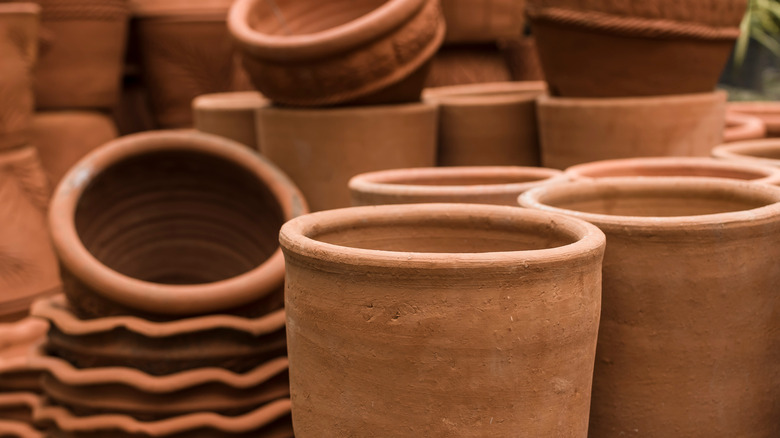
If it’s time to invest in new flowerpots for the garden or your favorite windowsill, you may not be thrilled with the selection at the local garden center. Terra cotta pots are some of the best plant containers because of their aesthetic, ability to support plant growth, and overall durability; but everything there looks too new, without the vintage appeal you’re after.
However, if you want the terra cotta pots to function like they’re new but have an older, more worn look, there’s something in your refrigerator that can help: yogurt! By applying this trick using a small dairy treat from your fridge, you’ll be able to create a terra cotta flowerpot that looks like it’s been filled with beautiful flowers for numerous seasons. It’s simple enough to use and offers just enough aging and coloration of the pots to create a stunning display.
Terra cotta is the perfect type of pot for this DIY project, too. Its natural, porous design allows for enough moisture to be absorbed into the pot to prevent soggy soil from causing root rot. At the same time, it holds enough moisture to prevent your plants from drying out. Those same qualities can help this pot absorb enough of the yogurt to create a stunning finished look. The end result is an aged, weathered look to the exterior of the flowerpot, one that can blend fabulously with the existing pots on your patio this season.
Why aging terra cotta pots makes them so desirable

Have you ever walked through a garden center and noticed just how beautiful flowerpots themselves can be? From drip-glazed pieces of art to very simple terra cotta painted in a variety of fun colors and shapes, this is a design feature for any patio, entryway, or garden setting. Terra cotta tends to be some of the most affordable of all flowerpots since they are typically produced in large quantities.
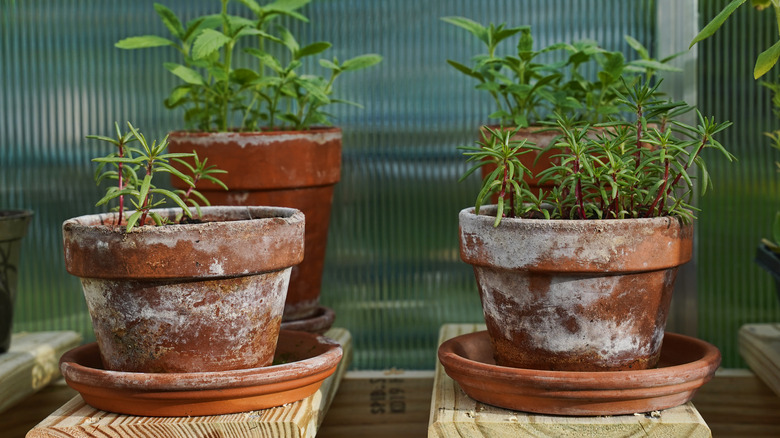
For those who want to add some vintage vibe, coloring, or just a bit of wear to a brand-new terra cotta pot, you don’t have to have an artistic hand or the ability to freely paint perfect images. Instead, you can create a Mediterranean-like, aged-looking flowerpot with the application of yogurt to the surface of the new pot. This doesn’t damage the pot in any way, but it will cause a bit of discoloration to the surface.
The benefit of doing this is the process of developing a patina to the exterior of the pot. It takes a few weeks for the patina to fully develop as temperature and moisture help the yogurt to set properly. This happens because of the minerals and bacteria that are in the yogurt, which create a soft, milky white, powder-like look. It’s much like the natural patina process, called efflorescence, that develops over time due to the minerals from the soil setting on the exterior of the pot. This process doesn’t take years, though.
How to age terra cotta

The process of aging terra cotta pots with yogurt is very simple, requiring just some plain yogurt from your fridge and a brush. Start by placing the pots into a bucket of water to allow them to absorb as much moisture as possible. Wait 30 minutes or so to allow this. Then, use any type of plain yogurt and brush on a thick layer on the surface of the pot. For the best results, turn it upside down, place it on a cloth you don’t mind getting dirty, and position it outside in a shaded area that’s protected from the rain. Lather it up with a good coating on the surface, covering all exterior areas. Then, allow it to dry. The longer you allow it to sit, the more the patina will grow and change the look of the pots.
For a darker, more distinctive color change, apply the yogurt heavily to a dry pot, one that you haven’t soaked. For a more milky white, softer look, soak the pot first. Give it a month or so to age. You don’t have to do anything else to it at that point. Once it reaches the desired look you want, turn it over and add in your favorite plants to create a stunning, aged terra cotta pot that looks like you spent a million bucks on it. Gardening with terra cotta pots is just that much more beautiful.


