There are few times of year more exciting than seed starting season. Finally, you can begin growing the seeds for your beloved flowers and veggies. Seed starting can be surprisingly expensive, though, considering all the supplies required to help young seedlings grow. Luckily, the clever hack of using disposable plastic cups as containers for seedlings can help you save money while still growing healthy plants.
Seed starting can seem like an intimidating process, but for most seeds, it’s quite simple. As long as you have good lighting, seed starting mix, and containers to put your seeds in, it’s not difficult to start seeds indoors. Not all seeds need to be, or even should be, started inside. Plants with deep tap roots often benefit from direct sowing. Seeds you should start indoors generally include those plants that take a long time to mature, especially if you live in an area with a relatively short growing season. Many seed packets have information on whether their seeds should be directly sowed or started inside and then transplanted out. You can usually find information on how early to start the seeds as well.
How to use plastic cups to start seeds
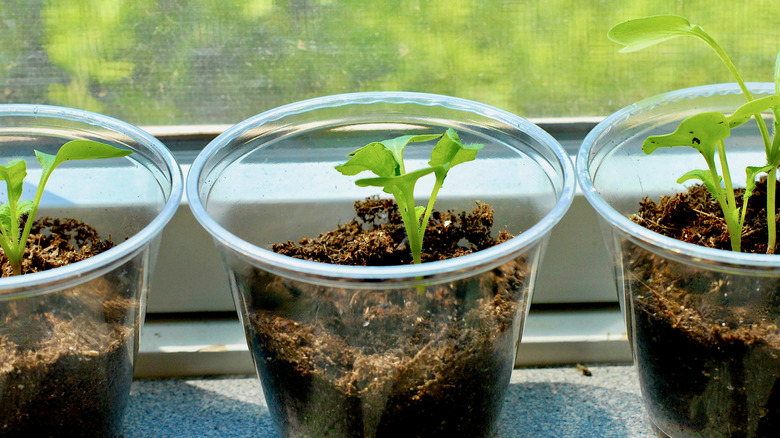
While there are a multitude of seed starting containers available for sale in stores, almost any plastic container will do. Plastic cups, especially the Solo brand’s iconic red cups, are popular options, but as the University of Nebraska-Lincoln Extension points out, used yogurt containers, old soda bottles, or even carefully folded newspapers are all great options. To turn a plastic cup into a seed starting container, carefully cut or drill holes into the bottom and fill the cup with damp seed starting mix, as one TikTok user demonstrated.
CHEAPEST WAY To Start Seeds For Your Garden & I’ll Show You How To Do It! #TikTokTaughtMe #TikTokPartner #Garden #GardeningTips #Gardening
♬ Canyons – Official Sound Studio
Watch on TikTok
Before germination, seeds benefit from regular misting with a spray bottle to ensure they don’t dry out. Putting a cover over the containers can help with this as well. Once the seeds germinate and the small green plants begin to emerge, remove the covering and begin bottom watering your seedlings. To bottom water your seedlings in plastic cups, place the cup with the seedling and growing medium inside a second cup that is partially filled with water. Then, allow the growing medium to soak up the water. Once the seedling’s growing medium has absorbed as much water as it can, remove the second
Advantages and disadvantages of disposable cups for seed starting
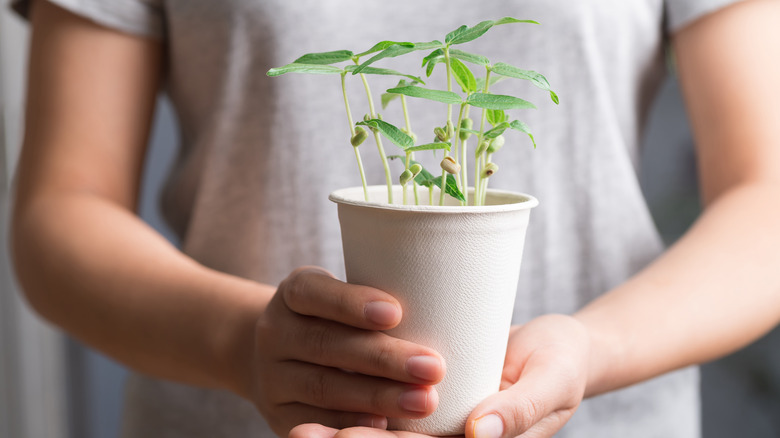
One possible disadvantage to starting seedlings in disposable cups is the cups’ size. Most of these cups are much deeper than the 2 to 3-inch depth University of Florida Gardening Solutions recommends for seed starting containers. They note that deep containers often make it difficult to provide seedlings with consistent moisture. You can always cut your cups to make them shorter if this is a concern for you. Alternatively, you can start your seeds in more shallow containers and then transplant them over to the disposable cups as they grow.
For some seeds, the disposable cup’s size may actually be a benefit. West Virginia University notes that larger containers can be beneficial for plants with more sensitive roots. Once your seedlings have been transplanted outside, you can wash and store the cups to use next year. Just because the cups are marketed as disposable doesn’t mean you shouldn’t reuse them.

