Venus flytrap, known by its scientific name, Dionaea muscipula, exudes charm with its carnivorous cravings and unconventional meals. It’s fascinating how it selects its prey, not using a hasty snap but a slow enclose of its leaves to filter out undersized insects that wouldn’t provide sufficient nourishment. Once it holds a juicy morsel in its leafy grasp, the trap seals shut, and the digestive juices commence their work, breaking down the feast. The natural habitat of this one-of-a-kind plant may be bogs, but it adapts remarkably well to being a potted companion in your living room. Enter repotting Venus flytrap. It isn’t just about finding the right-sized pot. What goes inside (the Venus flytrap potting soil or mix) is critical.
But why repot? First, it shields plants from stunted growth due to old, compacted media, giving them a fresh start with revitalized soil. Accordingly, if you’ve just welcomed a Venus flytrap into your indoor garden, transplanting ensures the new home offers an optimum balance of moisture and aeration. Of course, the question of, “When should I repot my Venus fly trap?” lurks in every newbie plant parent’s mind. Once every year is a good range to stick to – ideally when spring rolls in or early summer, just when your plant shakes off its winter dormancy.
Steps to repot a Venus flytrap

First, gather the necessary arsenal: a plastic pot, garden hose nozzle, and a potting mix of peat moss and perlite. Peat moss is a nutrient-free zone for Venus flytraps, while perlite aids drainage and aeration. Despite their compact size, Venus flytraps need room to let their roots thrive. So, opt for a pot with a minimum depth of 4 inches. The broader your pot, the better – consider 3 to 6 inches for single plants and wider for multiple transplants. The container’s material matters, too. Thick plastic or fiberglass pots shine bright with better insulation, particularly against biting colds.
Next, fill up your new pot with equal parts of peat moss and perlite to one-third of the container first, then apply gentle pressure for better water-holding capacity. The upper layer should be more fluffy. Proceed to create a hole in the middle of this lush potting mix for your Venus flytrap to snuggle into. Extract the plant from its old pot – gentle squeezes on the sides should do the trick. A garden hose spray is an excellent option for washing off the soil from dense root balls. If the plant is crowded, divide it into multiple bulbs, treading carefully around the delicate rhizomes. As for planting, tuck the plant in its new abode, using your fingers to ensure the potting mix finds its way around the roots and beneath the leaves. Deliver the finale by drenching the setup until water streams from the drainage holes.
Precautions and alternatives for repotting Venus flytrap

A fitting home for a Venus flytrap is a matter of finesse, a game of life and death no less exciting than the spectacle it puts on for unsuspecting insects. Keep in mind that regular garden or potting soil won’t cut it – laden with nutrients, it will inadvertently lead to the plant’s doom. The mix must be acidic and nutrient-poor. When handling the plant, be sure to hold the root ball carefully, preventing contact with the stem or traps. One false move could trigger these botanical booby-traps, consuming precious energy. Also, remember that conventional clay and terracotta pots are a no-go. They leak minerals lethal to your Venus flytrap. Try nestling a paper towel at the pot’s bottom, which will form a protective barrier to prevent potential potting mix washouts during watering.
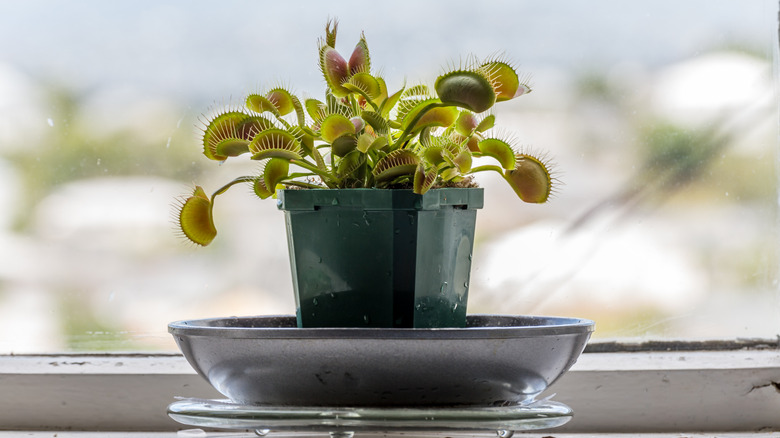
See that tap or bottled water? Dodge it, as it harbors an exorbitant mineral suite detrimental to your carnivorous green buddy. Hydrate only with rain, distilled, or reverse osmosis water. And for the planting hole? You could use a large screwdriver rather than your fingers to carve out the perfect cradle for your Venus flytrap. After repotting, if you need to wash any dirt or debris off small bulbs, a fine mist from a spray bottle triumphs over the garden hose nozzle. Removing the dirt on the leaves helps maximize exposure to sunlight. And speaking of sunlight, these green carnivores thrive in the unadulterated beams near a south-facing window.


