We may receive a commission on purchases made from links.
If you want to DIY a planter, then you may be wondering what you can use around your home. While it may seem unusual, if you have leftover IKEA bed slats or any others like it, you could create your very own planter with them, as demonstrated by @bangonstyle on TikTok. This is a great way to upcycle any leftover materials you have rather than tossing them away or leaving them in a dusty corner of your garage. Instead, put them to much better use to house a wide array of plants and create a stunning visual display. Likewise, you could use them to experiment with companion planting or growing some herbs — it doesn’t have to be all flowers.
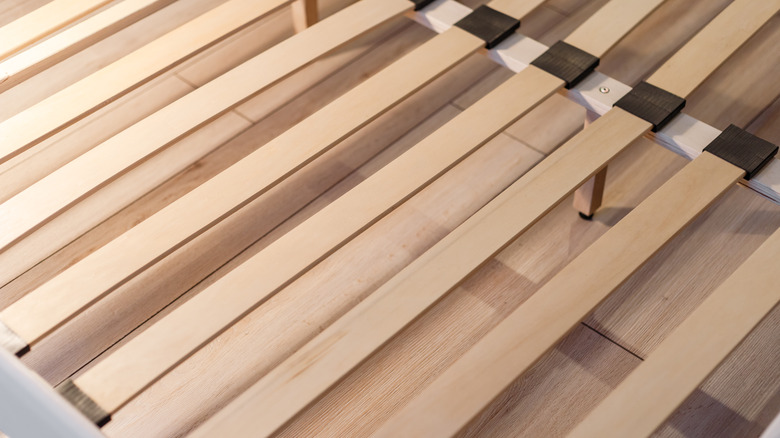
To build this planter, you’ll need some old bed slats, or grab some from IKEA for $30 if you don’t have any already. Just bear in mind you will have to take them apart. In addition, pick up a miter saw, an electric drill, screws, a plastic sheet, wood filler, scrap wood for the bottom, two wood batons, a wooden ladder trolley, a sander, and paint.
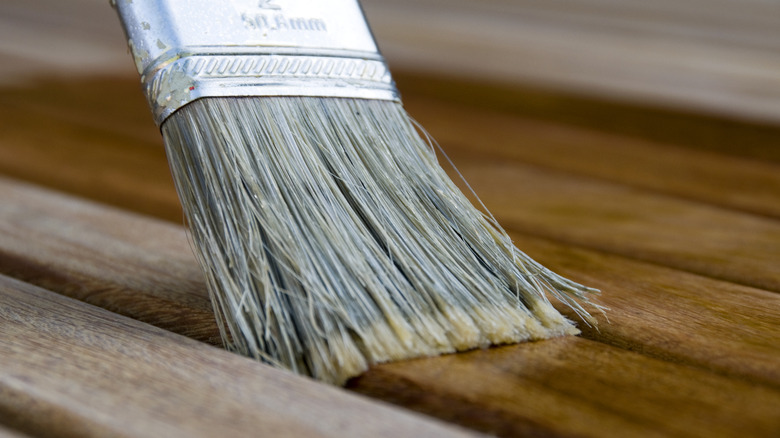
You may want to use a paint sprayer to make the job easier. The paint sprayer used on TikTok is available from Wagner SprayTech for $169.99 or opt for a budget-friendly sprayer like this one from Amazon for $65.99. You may have the tools needed already but will likely have to purchase a wooden ladder trolley. This one comes in different sizes and ranges from $20 to $45.98 on Amazon.
Build your planter
DIY PLANTER FROM OLD BED SLATS – IKEA HACK I decided to transform my unwanted @IKEA bed slats into a smart garden planter with climbing trellis. If you don’t want the fiddly ness of mitre corners then you could totally keep the edges flat. Trellis from @B&M Stores sprayed with my Wagner spray gun *ad Pr product and colour is Cuprinol Natural Stone garden paint from @Wickes *prev ad What do you think? #bangondiy ..#ikeahack #ikeahackers #diygarden #diyplanter #reusereducerecycle
♬ original sound – Debs | Bang On Style
First, measure the length of your slats to work out the dimensions for your planter. You’ll need eight short pieces for the width of the planter and eight long ones for its length. Start by disassembling all your bed slats so you’re able to pick them up one at a time and shave off the ends at a 45-degree angle with your miter saw. In total, you should have 16 pieces from the bed slats alongside your two pieces of scrap wood and two baton sections.
To assemble everything, simply line up a set of four slats of the same size and connect them with your wooden baton, drill, and screws. The baton should be positioned vertically across the horizontal slats. Repeat this for each set of four before connecting them to craft a box shape.
For the bottom, measure and slice three or four pieces of scrap wood. Screw them into place with a bit of space between each board. From there, screw on some additional boards as feet, utilize your wood filler over any gaps or screw holes, and sand it before securing your wooden ladder trolley. You can either purchase a specific length of ladder or cut one to size. Finally, add a coat of paint and leave it out to dry before lining it with a plastic sheet and moving it into position. Just make sure to leave holes in the plastic so water can drain easily. Fill it up with your chosen soil, plants, or herbs.
Customizing your planter

For a rustic look, swap out your paint for a wood stain and polyurethane coating, which you can grab off Amazon for $12.98. However, this isn’t the only way to customize it. Using the wooden ladder, you can implement some solar-powered string lights, like these from Amazon for $27.99, intertwining them through the gaps of the panels to create a magical look even during the later hours of the evening. Or, insert solar garden lights, like these from Amazon for $29.99, into the soil of your planter. Either way, there is a wide variety of options.
One last thing you could do to change up its look is to add some extra sections in the planter itself using any leftover wood or slats you have. For example, divide it into four sections for four different types of flowers or plants. You could even add hooks on the outside for some extra usability while in the garden, such as for hanging small packets of seeds or to prop your gloves.
The reason this hack works so well is that the IKEA bed slats are both long and sturdy enough to provide ample support for a planter. Who knew using household items to create a beautiful planter could be so easy? All that’s left is to try this out yourself!


