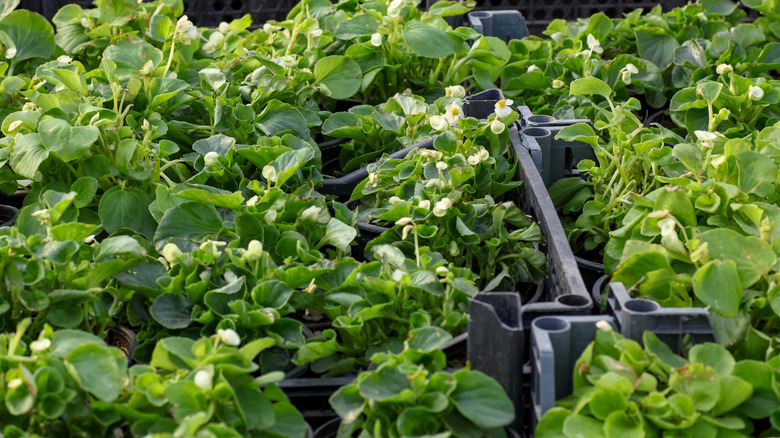
Space, skill, time, and budget restraints have thrown cold water on the gardening dreams of many. But you can flip the equation by reusing and repurposing the milk crates hoarding space in your garage. Clean them, line them with landscape fabric or burlap, and pour the potting mix in. Et voilà, your affordable garden is ready. Now sow the seeds or transplant seedlings, water generously, and watch them grow.
Economics aside, gardening in milk crates offers scores of other advantages. Unlike planters, they’re durable, lightweight, and easy to move. So, you’re sorted if Mother Nature throws curveballs or you relocate. Separating diseased plants or overwintering annuals isn’t a big deal, either. Moreover, as the founders of the Bowery Project interject, “milk crates are safe for growing any kind of edible plant so long it isn’t deep-rooted.” The Bowery Project promotes urban farming by growing food in milk crates placed in vacant lots.
Plus, crates are available in multiple colors, which, when paired with ornamentals, can brighten your patio, apartment balcony, deck, rooftop, or small courtyard in a jiffy. The best part, though? They enable air pruning of roots (like air pots). As milk crates have multiple holes punctured in their sidewalls and the bottom, the air gets a free pass. Consequently, the old roots burn off to make way for healthier new sprouts, preventing the plant from becoming pot-bound. But how do you build a garden using milk crates?
Materials and tools

Start by getting the star of the hack: milk crates. Generally, everyone has one, but if you don’t, you can buy them from Amazon, Uline, or Farm Plast for about $15 apiece. Or, you can get used crates from Craig’s list, estate sales, or thrift shops. Resist substituting the milk crates for file-holding boxes, as they aren’t very robust. As for the quantity, it’s your call. One is good if you are unsure about staying committed; buy multiple if you want a bigger setup or plan to stack them (the lower ones work as stands) for easy access, especially if you’ve got any back issues.
Next, you’ll need the hack’s savior, a non-woven, breathable landscape fabric—burlap’s fine, too. This will keep the potting mix and water from leaching out without affecting aeration. Any kind will do, but UV-resistant ones are better since they tolerate varied weather conditions well. You can buy a 50-foot roll for around $12 from garden centers, Home Depot, or Lowe’s. Ensure it’s at least 3 feet wide fabric, else it won’t fit the standard 12″ x 12″ x 10.75″ boxes.
Further, it’s time to buy the workhorses: potting medium and seeds. Opt for soilless mixes, as they aren’t heavy, offer better moisture retention, and minimize weeds, pests, and disease infestations. Finally, keep chalk, scissors, a staple gun, and needle nose pliers handy.
Wash the milk crates
Farmer Brooke/YouTube
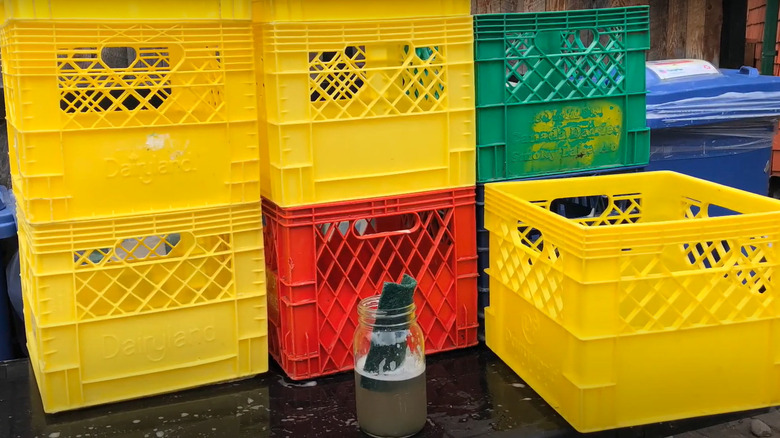
If you’re upcycling any of the used milk crates, clean them before turning them into a raised bed—albeit, there’s no harm in washing new ones either. Dust off all visible grime, dust, and debris with a cleaner-soaked rag. Next, place the crates in a big container containing soapy solution and scrub off any stubborn stains. Rinse them with water until no soap residues remain. Sanitize, if necessary. Once they’re clean, leave them out to dry.
Make markings on the fabric with chalk
Quasar Surprise/YouTube
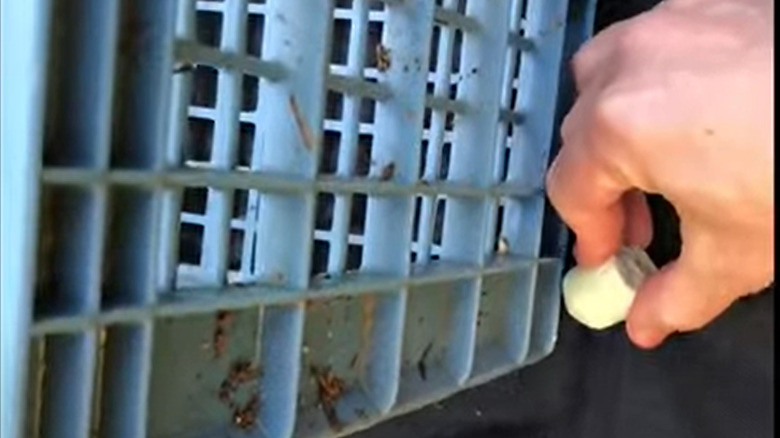
Affordable doesn’t have to be messy. So, rather than pushing the cloth as it is into the milk crater, cut it down to size. To determine the right dimensions, lay down the landscape fabric flat on the ground and place the (now dry) milk crater smack dab in its center (along the width). Flip the container on all four sides to confirm the roll is sufficiently wide to drape the innards, with an additional two inches to spare. You need the extra fabric to staple it to the crate’s edges later.
Next, using chalk, trace the milk crate’s base on all four sides. Then, gently spin it on its front and trace the walls. Replicate the process in all directions. You must have a total of nine marked squares.
Cut the fabric
Quasar Surprise/YouTube
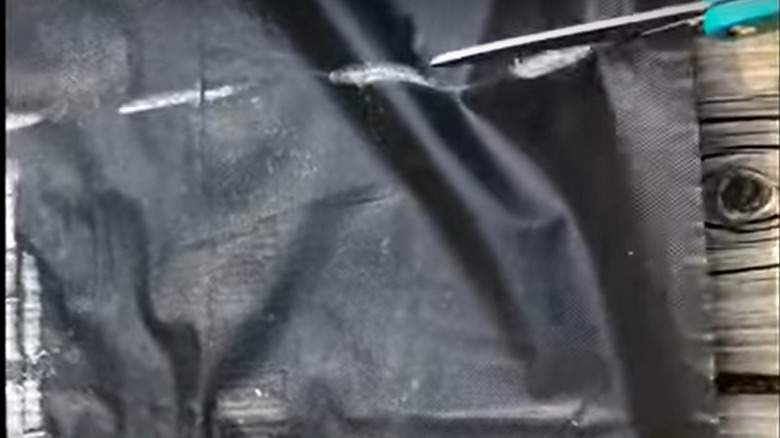
If you want to be 200% sure about the landscape fabric’s size, lay it down inside the crate, ensure the marked lines touch the corners, and inspect if it has sufficient overhanging material. If so, lay the fabric back on the ground (you can use rocks to hold it in place) and cut it with scissors. Otherwise, return to the drawing board. Remember, you can switch out the scissors for a pair of garden shears if the fabric is hard to tear through due to its thickness.
Shape the fabric into an X
Creative Discovery Museum/YouTube
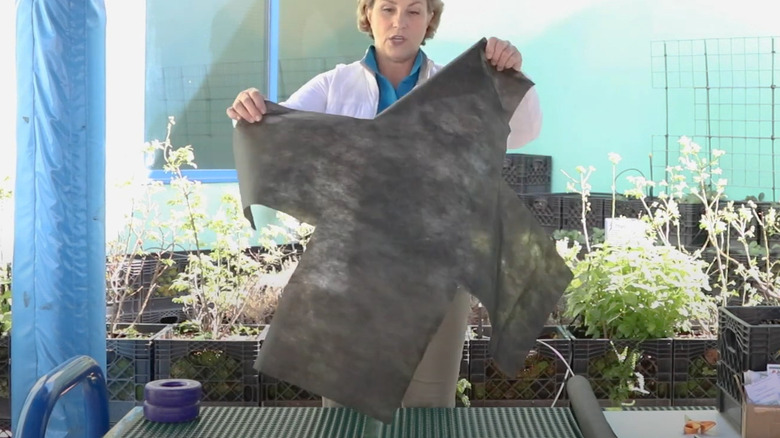
To spare yourself the hassle of stapling or sewing the seams, fashion the liner into an X shape. To do that, cut off the top and last quarters in both the first and third columns. Simply put, if you mark the squares from one to nine, starting at the top, you’re chopping off the 1st, 3rd, 7th, and 9th squares. Once you’re done, you’re ready to line your milk crate.
Place in the fabric and staple it
Creative Discovery Museum/YouTube
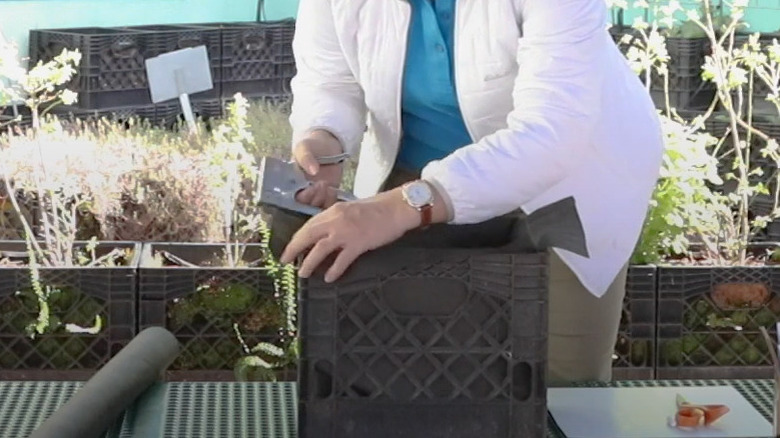
Fit the cut fabric so that the center quarter (5th square) lines the bottom while the remaining quarters align with the four walls of the milk crate. Ensure the fabric touches all corners to minimize any chances of it sliding down once it’s top-dressed with potting mix. Hopefully, you still have some extra material hanging on all edges.
Fold the excess in for a cleaner look and tack it to the container with the staple gun. You might have to push down the gun hard for the pin to lodge deep inside. This will prevent the soil from spilling out, ensuring a stronger grip on the crater garden. Please note if you’re bothered by the idea of using staples, you can pierce a few holes in the part of the fabric overlapping with the crater’s handles with the scissors and secure it with a zip tie.
Bend the staple pins with pliers [optional]
Quasar Surprise/YouTube
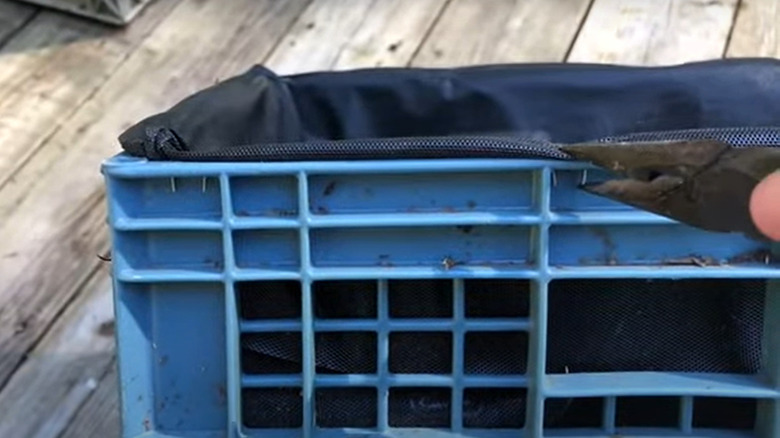
While not necessary, it’s a good practice to bend the staples inside, lest they stab your fingers while you’re moving the milk crates. Do so even if the staples are nestled closer to the inner edge. Just grab your needle nose pliers and twist the nail to the inner side. Be cautious, though, as sometimes the pin might just come out of the top instead of bending. Repeat the process for all staples. Your milk crate garden is ready to use.
Add the soilless mix
RiverparkFarm/YouTube
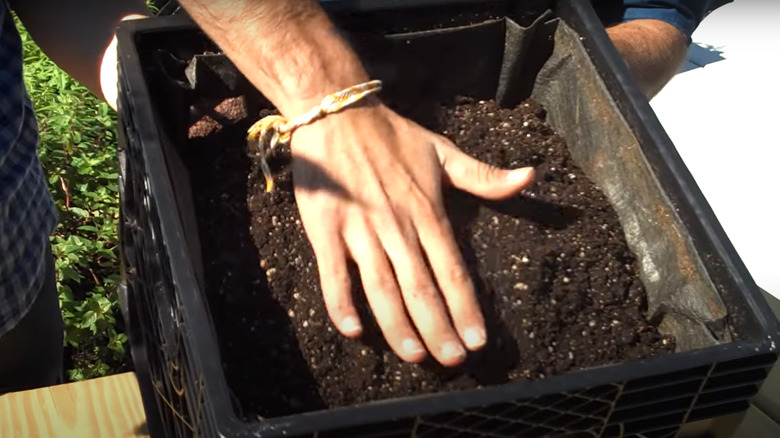
Pour a pre-mixed soilless mix into the lined milk crate up to the brim. Don’t worry about overfilling it since its level will settle down once you water it. However, ascertain the planting medium has perlite, as it’ll prevent it from becoming overly compact while encouraging aeration. Also, ensure the mix drains well. Adding materials like peat moss, ground moss, and vermiculite promotes water retention.
If you’re planting top-heavy bushes, add coarse sand to the milk crate—around 10% of its total weight should be sufficient. That being said, if you don’t want to buy the potting mix, you can DIY it, too. In a container, add 1 bushel of horticultural-grade vermiculite, 1½ cups of limestone, 1 bushel of peat moss, 1 cup of 5-10-5 slow-release fertilizer, and ½ cup of 20% superphosphate (via Rutgers). Blend them well, and tip the mixture into your crater garden.
Sow seeds or transplant
Wendi Phan/YouTube
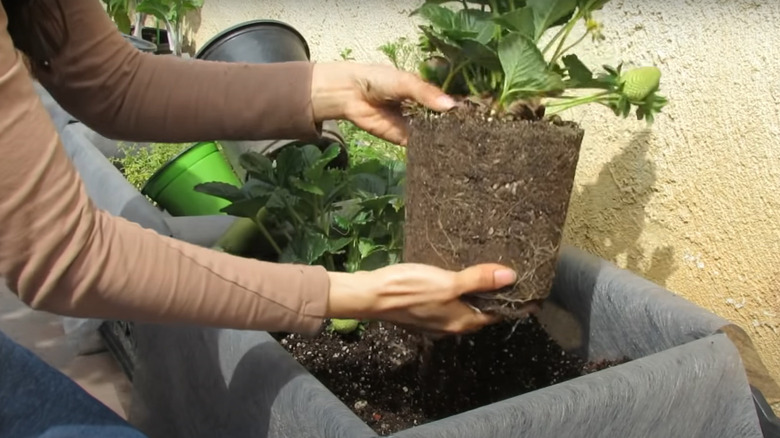
In case you’ve used a market-bought soilless mix, you might want to add a slow-release fertilizer and water it later. Next, using your finger, dig a few quarter-inch wide holes when starting afresh with seeds. But if you wish to transplant, fill the crate only halfway up or up to the length necessary to cover the youngling’s base with the potting medium.
Then, place the transplant and add the rest of the mix. Whatever you choose, avoid overcrowding the milk crater garden. However, you can move your potted plants to the container but break apart their girdled roots before doing so. Then, firm up the potting mix and irrigate it. Also, look for any drainage issues. Although the fabric and burlap are porous enough to allow any excess water to drain out, cut a few holes in the sides (not the bottom) if you feel otherwise.
Ways to design your milk crater garden
CaliKim29 Garden & Home DIY/YouTube
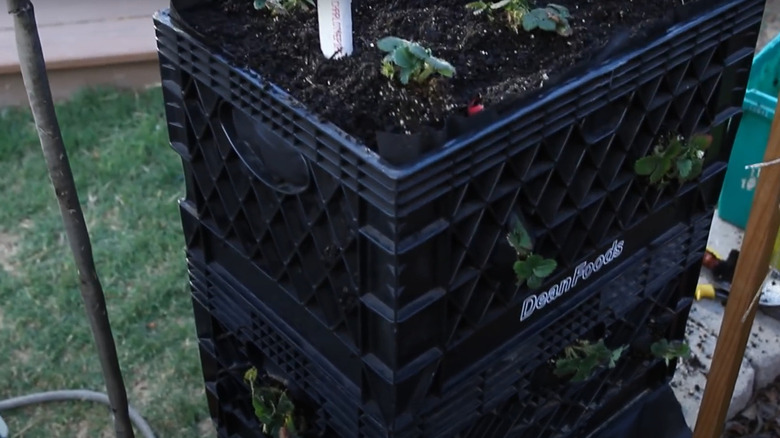
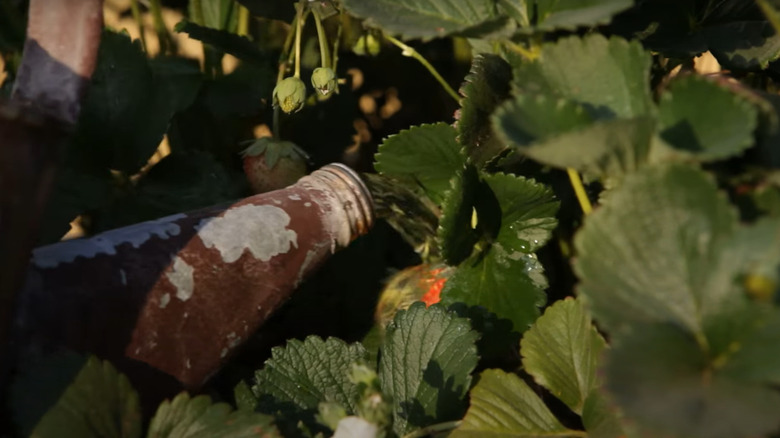
You’d be wrong if you think the lone way to design a garden using milk craters is to have the crops grow out of their tops. You can have the plants tumble down from the sides, provided you pinch holes in the fabric on that side—a pair of scissors helps. Vine crops like strawberries, melons, cucumbers, clematis, dwarf tomatoes, hydrangeas, and pumpkins are often planted this way because their foliage beautifies the crates’ façade. Alternatively, you can stack multiple milk crates to create raised beds, air pots, or a plant wall. Keeping the lower crates empty improves root aeration, leading to healthy growth and a bountiful harvest. Some even turn their milk crates into hanging planters by suspending them from the ceilings using an S-hook.
Another way is to couple your milk crates with square-foot gardening, where the planting area is divided into smaller square sections instead of rows. Luckily, the cubic shape of milk crates fits right into the concept, compounding possibilities. Like gardens, each milk crate becomes its biome, sans the risks of weed takeover. For instance, you could have a crate of herbs growing next to tomatoes and then rotate these crops the next season. Since this practice involves an efficient use of space, it results in higher yields—almost 7x times for carrots. Farm Plast estimates you can reduce your costs and space requirements by almost 50% and 20%, respectively.
Downsides and care
CaliKim29 Garden & Home DIY/YouTube
Although you can grow “dwarf,” “bush,” “compact,” or “patio” flowering and vegetative varieties in milk craters, there’s plenty that you can’t. Deep-rooting veggies, including potatoes and celeriac, are a big no-no, as are tall plants like corn and beans since they shade out adjacent planted crates. Moreover, because the plants aren’t rooted in soil, they dry out quickly, necessitating frequent irrigation. Being porous, landscape fabrics aren’t a great help, either. So, planted crates must be soaked several times a week vis-à-vis the weekly schedule common for typical gardens. On particularly dry days, you might have to water them twice or more within a day. But if you’re an infrequent waterer, save your plants by coating them with ¼ to ½ teaspoon of a wetting agent every 4 to 6 months.
If you follow square-foot gardening, odds are you plant several plants together, resulting in a quick depletion of soil nutrients. As a result, you must apply water-soluble fertilizers weekly or bi-monthly in milk crate gardens. Blood meal and fish emulsion work, too, but they may attract pests. Plus, planting too close makes the vegetation susceptible to diseases, which worsens with the foliage remaining wet for prolonged durations. So, avoid reusing the planting soil in the next growth season, lest the microbes overwinter and wreak havoc on the new plants. Finally, regularly check the carton and fabric for signs of wear and tear and replace them when necessary.

