Empty alcohol bottles are full of reuse potential. Glass is a durable material that is 100% recyclable, yet it’s estimated that we throw away 28 billion glass bottles and jars every year. Using empty wine and whiskey bottles as crafting materials isn’t just eco-conscious; it’s an affordable way to get long-lasting decor. We’ve put together 16 genius ways to repurpose empty alcohol bottles. These DIY projects range in complexity, but all deliver an elevated appearance that rivals store-bought home goods.
Though different materials will be required depending on the project, you will likely need a glass cutter. Multiple configurations of cutters exist, including handheld styles and others that rely on rotation. Because so many of these projects require you to cut glass, we strongly recommend safety gloves and goggles. Other necessary items include paint, strong glue, sandpaper, and decorative accouterments. Though crafting with glass may seem more complex than working with plastic, it can be done safely, and the results are much more impressive.
Drinking glasses
Wine Spectator/YouTube
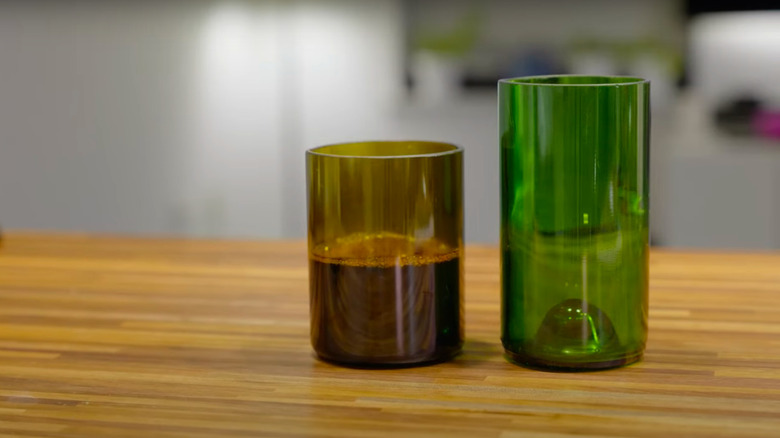
Wine bottles have dimensions perfect for drinking glasses. Collect four to eight bottles, soak them in warm, soapy water, and peel away the labels. Ensure all glue is removed before crafting. You’ll need a glass cutter, boiling water, and a bowl of ice water to modify the bottle. First, mark the height you want the glass to be, and cut along that line. The bottle should be sitting flat against a table and rotated against the cutter. Once there is a continuous superficial cut, pour some of the boiling water over the incision. Then, immediately put the bottle in the ice bath. Repeat these steps until the glass breaks at the cut. Use fine-grit sandpaper to smooth the rim.
Candle
Jack Woodman/YouTube
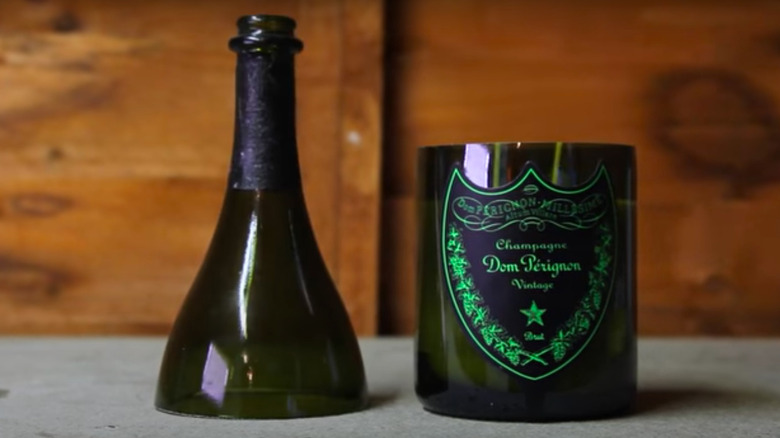
Making a candle with a liquor bottle begins much like making drinking glasses. You’ll start by cutting the glass. Then, you’ll need to create your candle with an appropriate wax, wick, and optional scent oils and dyes. Beginners should consider purchasing a kit that includes the necessary supplies and instructions. Though a plain glass bottle will look elegant, you can elevate the candle further by painting a design or translucent solid color on the outside.
Lamp
Brett’s Builds/YouTube
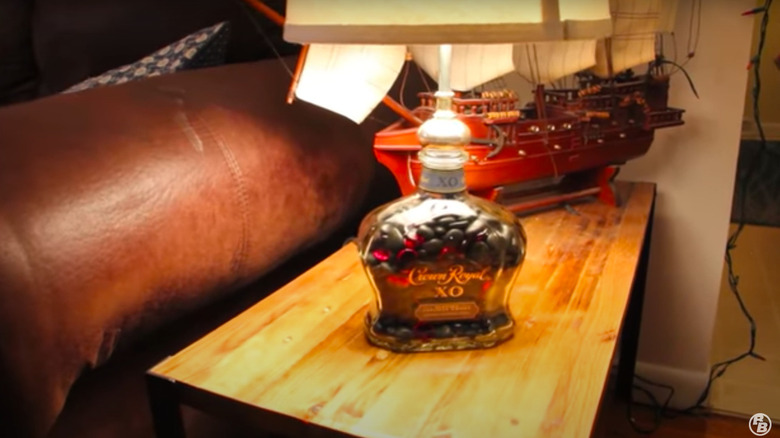
There are several ways to make a lamp, regardless of your crafting skills. Beginner-friendly designs involve placing copper LED string lights into a decorated bottle. This option is not only simple, it’s portable too. Those more comfortable crafting with glass may prefer to thread a power source through the bottle. Buying a lamp-making kit saves time and will provide you with all the necessary materials.
Vase
Jose Luis Montoya Retamosa/Getty Images
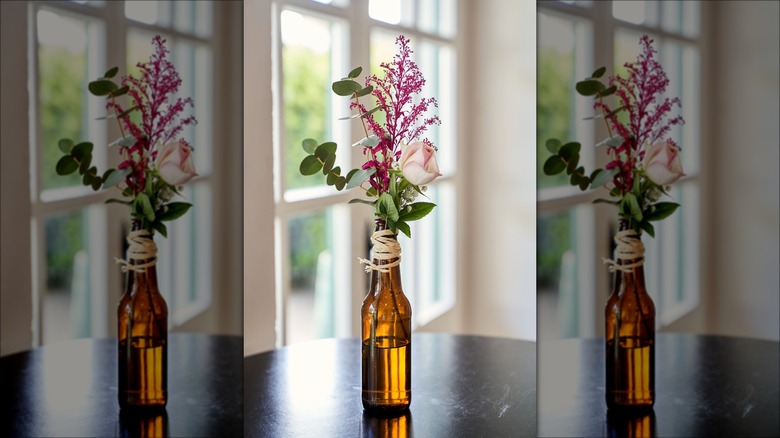
When the labels are removed, there’s not much of a difference between a glass bottle and a vase. One unaltered bottle will fit a simple traditional interior design, as will one that’s been cut. Create a wave-shaped rim for a modern look, and paint with a bold color. Or, for a coastal feel, wrap jute twine around the base and secure it with hot glue.
Snowglobe

Aaron St/Shutterstock
Short bottles make for interestingly shaped snow globes. To get that perfect snowy look, you’ll need glitter, glycerin, cold water, acrylic paint, a paintbrush, and a hot glue gun. First, fill the bottle with cold water, a few drops of glycerin, and at least two tablespoons of glitter. Secure the top or cork with hot glue and cover the seam with ribbon for a festive look. Paint a decorative scene on the outside in lieu of internal decorations.
Candle holder
Silvia Cozzi/Getty Images
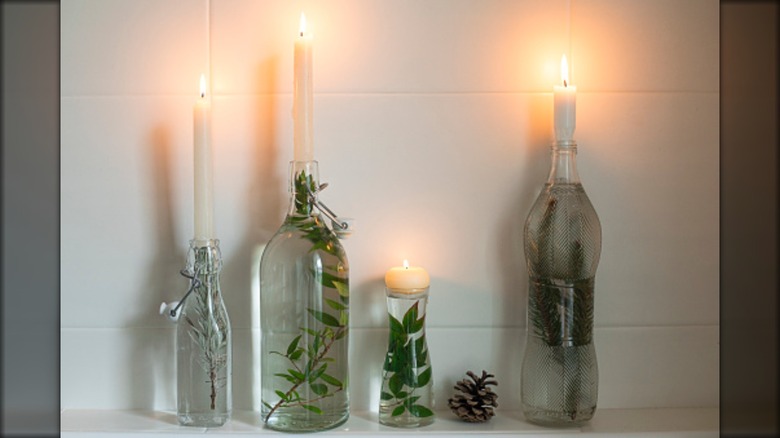
Wine bottles are so perfect for holding candles — there are even candling-holding inserts made to fit the bottle opening. Some hold single taper candles, while others have multiple holders for several tea lights or votives. They work like toppers that are wedged into the bottleneck. Alternatively, you can place tapers less than 3/4 inches in diameter directly inside the opening. Melted wax around the rim will help the candle stay in place. Be sure to add weight to the bottle before lighting it for more stability.
Wind chimes
Lucy Autrey Wilson/Shutterstock
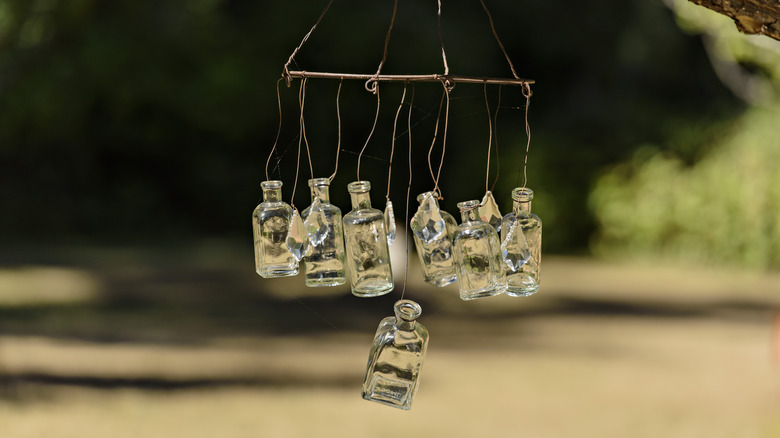
Anyone who has seen 1996’s Harriet the Spy knows the beauty of bottle wind chimes. Seasoned DIYers have created many styles of bottle chimes. Some styles use one bottle that’s cut up into pieces or rings that gently clink together in the wind. Others make use of multiple smaller bottles that are decorated or painted. Whatever design you choose, remember to use secure wire or twine and place the chime in a spot that will receive some wind but not so much that the bottles will shatter.
Self-watering planters
This is how I set up a plant in my upcycled self-watering wine bottle planters. These plants need minimal care to thrive, thanks to capillary action – perfect for a forgetful plant parent like me! #winebottlescraft #diyproject #houseplantdiy #upcycling #selfwatering #glasscraft #tiktokdiy #learnontiktok #plantprojects #planthacks #planttoktips #planttiktok #houseplanthacks #africanviolet
♬ BARELY BREATHING – Grant Averill
Any bottle will make for a suitable self-watering planter. In addition to the tools for cutting glass, construction will call for scissors, cotton rope, potting mix, and a plant. The first step is to cut the bottle. Next, invert the top part so the neck is pointing down and place it in the bottle. Make a knot in one end of the rope and feed it through the hole and into the bottom of the bottle. Remove the top portion briefly and pour water into the base. Set it back down and add your potting mix and plants. Water will travel up the rope and hydrate the plants.
Soap dispenser
Space_Cat/Shutterstock
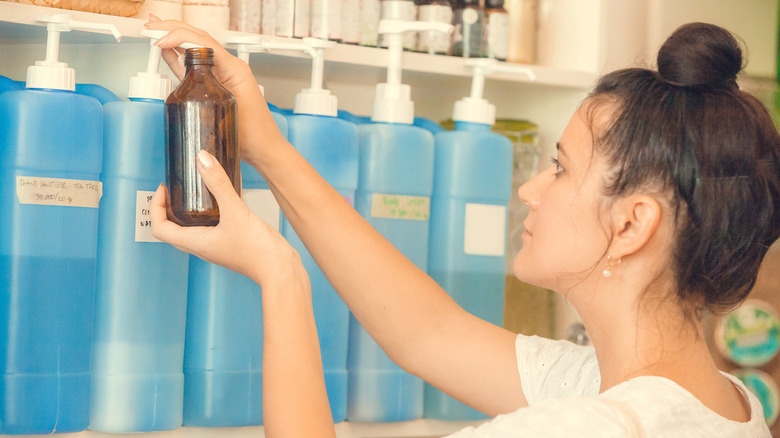
A glass soap dispenser is elegant, reusable, and eco-friendly. Though shorter bottles might look more like traditional dispensers, you can use wine bottles so long as you have a long enough pump. Pumps range in size and finish and are available at stores like Amazon, Uline, and zero-waste stores. Leave the bottle as is for a natural look, or use glass-adhering spray paint to make it blend in with your decor.
Patio torch
Hallmark Gold Crown Stores/YouTube
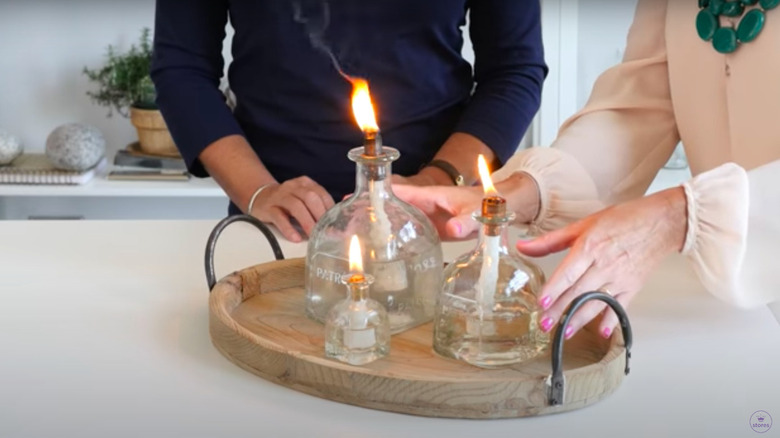
Add some style to your outdoor space with a bottle torch. Gather some aquarium gravel or pebbles, a replacement torch wick, a ½-inch x ⅜-inch copper coupling with a dimple stop, a copper tube cap, PTFE or plumber’s tape, and a funnel. Then, select some torch fuel. Use citronella-scented fuel to help keep pests away. You’ll first weight the bottle down with the gravel or pebbles. Then, wrap enough tape around the wide end of the coupling so it sits snuggly in the bottle. Feed the wick through the coupling so a ½-inch extends past the top. Remove the coupling and pour the fuel through the funnel and into the bottle. Then, put it back with the long end of the wick in the fuel.
Fragrance diffuser
New Africa/Shutterstock
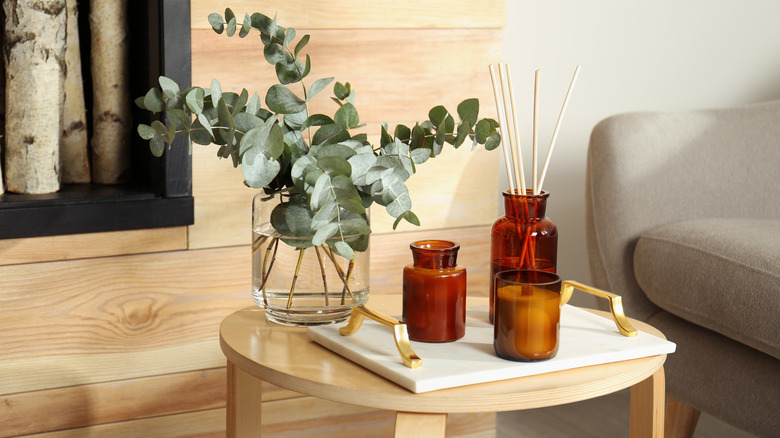
Use smaller liquor bottles for DIY oil diffusers. They look elegant and make the room smell divine. You’ll need some diffuser reeds, coconut, avocado, or almond oil, clear grain alcohol, a funnel, a bowl for mixing, a measuring cup, decorative twine or ribbon, and the essential oils you like best. Start by filling the bottle with water until it’s a third full. Then, pour the water into a measuring cup — this is the amount of oil you’ll want to add to your mixing bowl. Follow the oil with a teaspoon of alcohol. You may need more for larger bottles. Add at least twenty to thirty drops of essential oil and mix. Pour the mixture into the bottle, insert the reeds, and tie the ribbon or twine around the neck for a decorative touch.
Sea glass art
Davdeka/Shutterstock
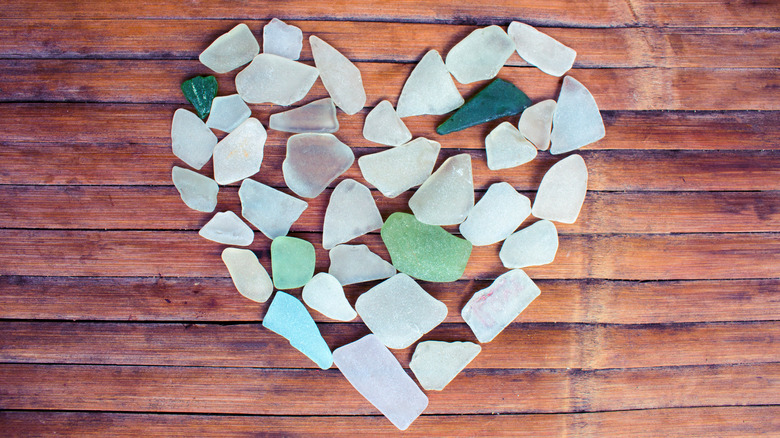
Real sea glass is made from broken glass that has been battered by ocean waves and rocks over long periods. The result is beautiful and smooth, with a matte finish. A similar result can be achieved using a rock tumbler and special sea glass spray paint. Wrap a bottle in a towel and gently hit it with a hammer to break the glass safely. Take the pieces and put them into a rock tumbler with coarse grit for about five days. The edges should be smooth, and the texture should be matte, not shiny. Then, coat the pieces with sea glass spray paint and assemble them into a gorgeous work of art.
Bird feeder
Brett’s Builds/YouTube
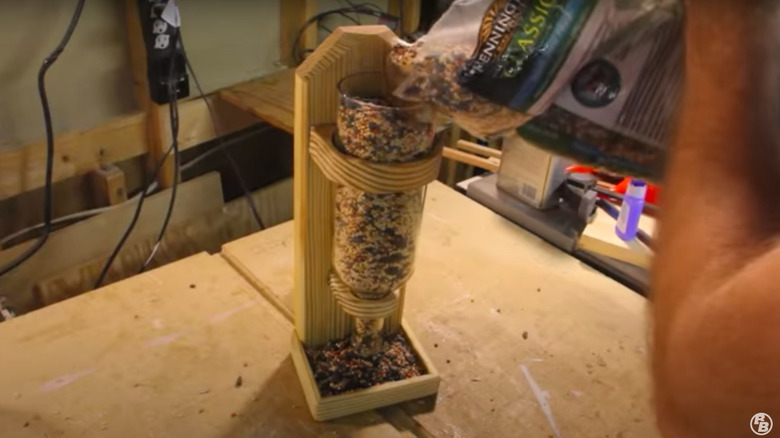
A wine bottle bird feeder is perfect for inviting more birds to your yard. It’s one of the primary materials in a gravity bottle feeder. Construction will also require wood, a saw, wood glue, screws, a hammer, nails, and a drill. The main frame consists of a back panel with two-inch sides and a base. The bottle is inverted and stabilized by nails. As seeds are eaten from the base, more will drop down.
Stained glass sun catcher
Svetlana Dolgova/Shutterstock
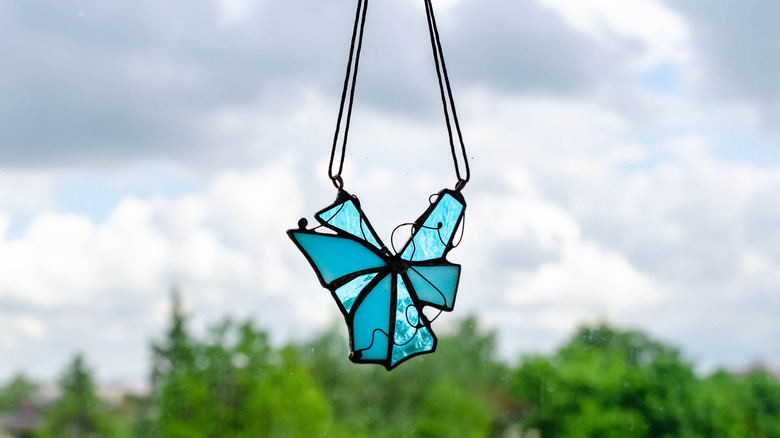
Have broken glass? Put on some gloves and grab stained glass window paint, a paintbrush, fine sandpaper, super glue, and Mod Podge. Paint individual pieces to make a picture or to form a random pattern. Sand the edges so pieces fit together snuggly, then apply glue and press them together. Cover connecting edges with black paint or permanent marker. Swap the glue and black paint for a soldering iron and copper foil if you want an authentic stained glass appearance.
Mosaic coaster
Anastasiia Horova/Shutterstock
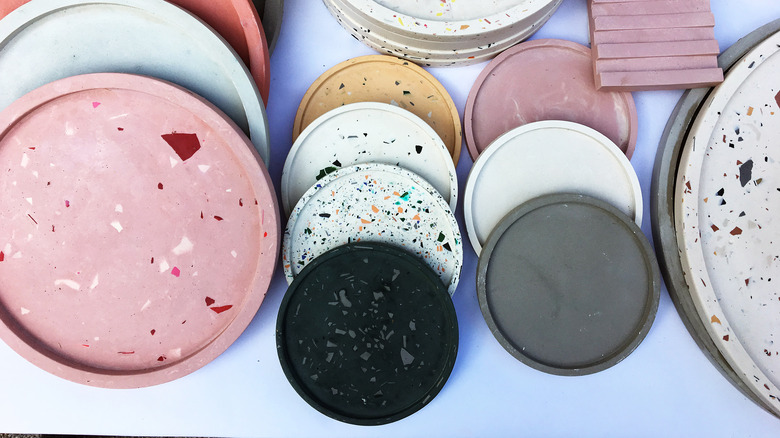
Broken glass also makes for interesting mosaic or terrazzo decor. To make coasters, you’ll need air-dry clay, thin cork sheets cut in the desired shape, Mod Podge, pigment for clay, paint, and a paintbrush. Paint the glass so that when the pieces are assembled, they’ll resemble a picture or pattern. Roll out the clay, add pigment to color, and shape it. Press the glass into the clay and let it dry. Then, turn it over and use Mod Podge to affix the cork sheet to the back. Lastly, apply another layer of Mod Podge over the entire coaster.
Store olive oil
Katharina13/Getty Images
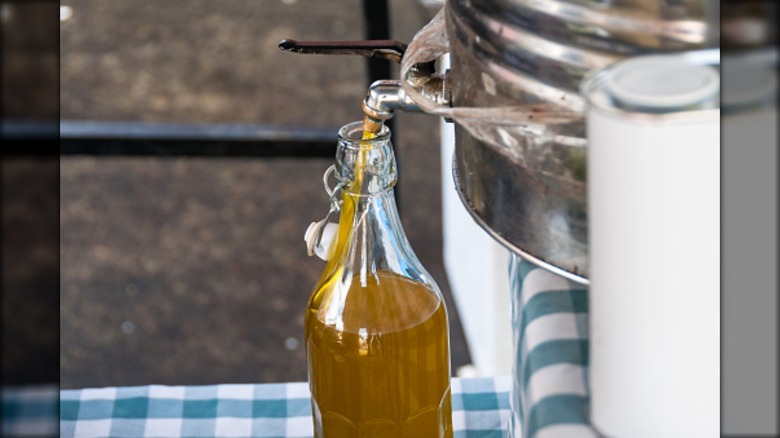
Olive oil is costly. Did you know that you can get it cheaper by buying it at a refill store? Adapt any bottle with a pour nozzle — and it’ll be perfect for storing oil. Simply take it to a refill or zero-waste store near you. Someone will weigh it before and after you fill up. They’ll deduct the weight of the bottle from the price, and you’ll only pay for the liquid weight.

