A 403 error occurs when a website server refuses to respond to a request due to insufficient permissions. This error is often encountered when trying to access restricted or forbidden areas of a website.
There can be various reasons for a 403 error, such as incorrect file permissions, a misconfigured .htaccess file, or an issue with the server’s firewall rules. It is important to note that a 403 error is different from a 404 error, which means that the requested content was not found.
If you encounter a 403 error, there are several steps you can take to resolve the issue. First, double-check the URL to make sure you have entered it correctly. If the URL is correct, try clearing your browser cache and cookies. If the error still persists, you might need to contact the website administrator to request access or check if there are any server-side issues.
In some cases, a 403 error can be caused by a problem with your internet connection or ISP. You can try accessing the website from a different device or network to see if the error still occurs. If it does, then the issue is likely on the website’s end.
To avoid encountering 403 errors in the future, make sure you are following the website’s guidelines and terms of use. Be cautious when accessing and sharing sensitive or confidential information. Additionally, keep your browser and operating system up to date to prevent any security vulnerabilities that could lead to a 403 error.
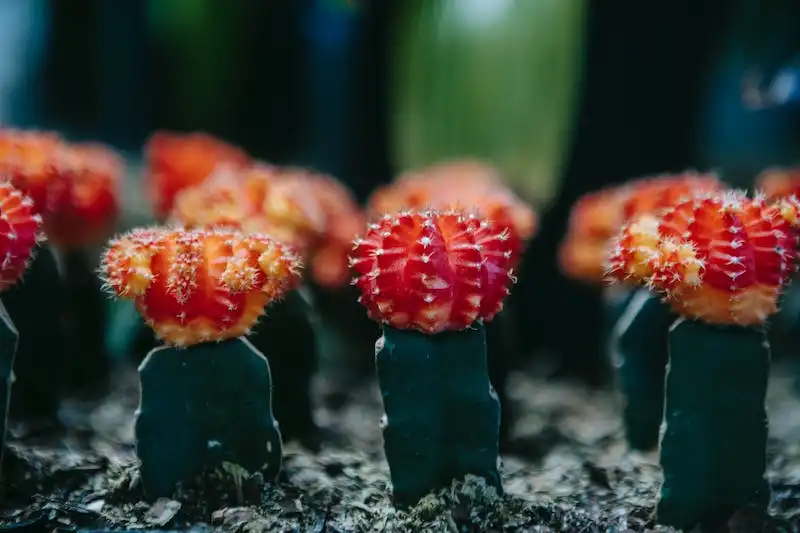
If you are interested in growing a Japanese Maple tree in a container, it is important to know the proper care guidelines to ensure the tree’s health and keep it thriving. Japanese Maples are slow-growing trees that are known for their beautiful leaves and unique shape. They are also known as Acer palmatum trees.
When a Japanese Maple tree in a container has gone dormant or is showing signs of stress, such as dead or struggling leaves, it may be time to take action to guide its growth and ensure its stability. This 403 ERROR guide provides step-by-step instructions on how to properly care for a potted Japanese Maple tree.
The first step is to ensure that the Japanese Maple is placed in a suitable environment. It is necessary for the tree to be in a container with well-drained soil, as the acer’s roots can become damaged if they are left to sit in water for too long. If the pot does not have drainage holes, it is best to repot the tree into a pot that does.
When repotting a Japanese Maple, make sure to choose a pot that is slightly larger than the current one. This will allow room for the tree’s roots to grow and prevent them from circling around the base of the pot. Layer the bottom of the new pot with a wide layer of acid-loving soil, as Japanese Maples prefer a slightly acidic environment.
Before repotting the tree, check the health of the roots. If they are extremely root-bound or look broken, you may need to carefully trim them. However, be cautious not to over-prune the roots, as this can cause stress to the tree. Once the tree is placed in the new pot, fill around it with more acid-loving soil, making sure to gently firm it down to avoid air pockets.
After repotting, make sure to place the potted Japanese Maple in a location that provides the right amount of sunlight and protection from frost. Japanese Maples prefer a partially shaded area that is protected from strong winds. In the summer months, make sure to water the tree regularly to keep the soil moist but not waterlogged.
In conclusion, growing a Japanese Maple in a container can be a rewarding experience. By following the proper care guidelines and providing the tree with a suitable environment, you can enjoy the beauty of these unique trees in your private space. Remember to move the tree to a larger pot when needed and avoid repotting too early or too often. With the right care, your Japanese Maple will thrive and bring you years of enjoyment.
– Slightly modified and adapted from the original source: jimgardenaction.com
403 ERROR
Interested in growing Japanese maples but worried about encountering a 403 error? Then this article is for you! Japanese maples, or acer palmatum, have deep roots in Japanese culture and are highly sought after by gardening enthusiasts worldwide. If you’ve recently bought a Japanese maple and it has become pot-bound or is struggling to grow, it may be time to consider repotting.
One of the reasons why Japanese maples may need to be repotted early on is because they have a tendency to become pot-bound. This means that their roots have outgrown their current pot, causing them to lose stability and struggle to absorb the necessary nutrients. If you notice that your acer palmatum is struggling, it’s time to give it some room to grow.
When repotting your Japanese maple, it’s important to choose the right soil. Japanese maples prefer well-drained and slightly acidic soil. You can buy pre-made soil mixes specifically formulated for maples, or you can create your own by mixing equal parts of regular potting soil and peat moss. This will provide the optimum environment for your tree to thrive.
Before repotting, make sure to choose a pot that is slightly larger than the one your maple is currently in. This will give the roots enough space to spread out and grow. It’s also important to ensure that the pot has drainage holes to prevent water from accumulating and causing root rot.
Once you have the right pot and soil, it’s time to repot your Japanese maple. Start by gently removing the tree from its current pot, being careful not to damage the roots. If the roots are tightly packed together, you can carefully loosen them with your fingers or a small tool. Place a layer of soil at the bottom of the new pot and position the maple in the center. Fill in the remaining space with soil, ensuring that the tree is stable and upright.
After repotting, it’s important to water your maple thoroughly to ensure that the soil settles around the roots. Provide adequate shelter for your acer palmatum during harsh winter months and avoid exposing it to strong winds. Japanese maples are generally hardy, but they can still benefit from some extra protection.
Regular pruning is also necessary to maintain the shape and size of your Japanese maple. Prune during the dormant season, which is usually in late winter or early spring. Remove any dead or damaged branches, as well as any branches that are crossing or rubbing against each other. This will help improve the tree’s overall appearance and promote healthy growth.
If you’re still worried about repotting your Japanese maple, don’t hesitate to seek advice from a gardening expert or visit online forums dedicated to maple enthusiasts. There are plenty of resources available to guide you through the process and address any concerns you may have.
Remember, repotting and pruning your Japanese maple are important steps in keeping it healthy and thriving. By following the step-by-step instructions and tips posted here, you can be sure that your tree will continue to grow and delight you with its beautiful leaves – no 403 error necessary!
How to Re-pot an Acer Tree
When it comes to the health and growth of your Acer tree, the roots play a crucial role. Repotting your Acer tree is an essential step to ensure its well-being and to provide it with the necessary nutrients. Here’s a step-by-step guide on how to repot an Acer tree.
Step 1: Assess the Roots
Before you start the repotting process, carefully examine the roots of your Acer tree. If the roots are circling around the base of the tree or if the root ball is too crowded, it’s a sign that your tree needs to be repotted. Additionally, if the roots are damaged or struggling to grow, repotting might be necessary.
Step 2: Choose the Right Container
When selecting a new container for your Acer tree, consider a pot that is at least 2 to 4 inches bigger in diameter compared to the current pot. It should also have proper drainage holes to prevent waterlogging. Additionally, ensure that the container is suitable for the Acer’s specific needs, such as providing partial shade if needed.
Step 3: Prepare the Tree and Container
To repot an Acer tree, start by removing it from its current container. Gently slide the tree out and loosen the roots with your hands. Remove any damaged or tangled roots. If the root ball is tightly bound, use a sharp knife or pruning shears to make a few vertical cuts along the sides.
Step 4: Add Fresh Soil
Fill the new container with fresh potting soil, making sure there is enough to cover the roots and provide stability for the tree. You may also mix the potting soil with an acidic compost or amendment if your Acer prefers slightly acidic soil.
Step 5: Repot the Acer Tree
Place the Acer tree in the new container, making sure it is centered. Slowly add more potting soil around the roots, gently pressing it down to eliminate air pockets. Make sure that the tree is at the same level as it was in the previous pot.
Step 6: Water and Maintain
After repotting, thoroughly water the Acer tree. This helps settle the soil and promotes healthy root growth. Keep the soil slightly moist but not waterlogged. Provide the tree with an appropriate amount of sunlight and regular fertilization as needed. Monitor the tree’s health and water requirements closely.
If you are worried about repotting your Acer tree, it’s always best to seek advice from professionals or consult specific care guides. However, with careful attention and proper techniques, you can successfully repot your Acer tree and ensure its continued growth and health.


