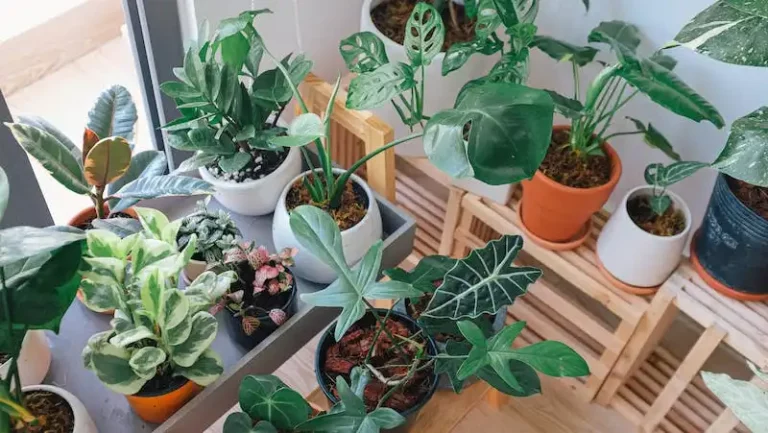
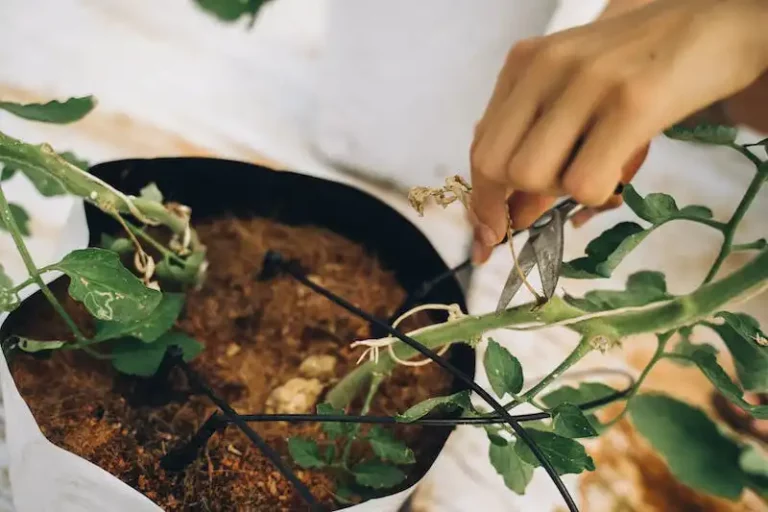
If you have a ZZ plant and want to propagate it, there are multiple methods you can follow. In this article, we will discuss two of the easiest ways to propagate ZZ plants – through water and soil. Whether you are a beginner or an experienced gardener, these methods will help you successfully grow new ZZ plants from leaf cuttings.
Before we get started, let’s talk a little bit about ZZ plants. Zamioculcas zamiifolia, also known as the ZZ plant or Zanzibar gem, is a beautiful houseplant with glossy, dark green leaves. It is well-known for its ability to thrive in low light conditions and its air-purifying capabilities. ZZ plants can grow up to 3 feet tall and are commonly used as indoor decorations in homes and offices.
Now, let’s get into the details of leaf propagation. The first method we will discuss is water propagation. This method is very simple and is ideal for beginners. All you need to do is cut a leaf from the mother plant with a clean and sharp knife, making sure to include about 1 inch of the stem. Place the leaf cutting in a container with water, making sure that the bottom of the leaf is submerged. Leave it in a bright spot, but away from direct sunlight. Within a few weeks, you will start to see roots growing from the bottom of the leaf.
The second method is soil propagation. This method is a little bit more involved, but it can be faster than water propagation. Start by taking a leaf cutting in the same way as the water propagation method. Instead of placing the cutting in water, you will place it directly into a container filled with well-draining soil. Make sure to bury the cut end of the leaf into the soil, leaving the top part exposed. Water the soil lightly and place the container in a bright spot, away from direct sunlight. With the right conditions, the leaf cutting should start to show new growth within a few weeks.
In conclusion, propagating ZZ plants from leaf cuttings is a fun and rewarding process. Whether you choose to use the water propagation method or the soil propagation method, make sure to follow the proper techniques and provide the right conditions for the new plant to grow. With a little bit of patience and care, you can have multiple beautiful ZZ plants in no time.
ZZ plant propagation: how to multiply Zamioculcas
If you’re looking to propagate your ZZ plant (Zamioculcas zamiifolia), there are two easy methods you can try: water propagation and soil propagation.
Water propagation:
Water propagation is a simple and effective way to multiply ZZ plants. Start by selecting a healthy leaf from the plant. Ensure that the leaf you choose is ready for propagation by checking for any damaged or yellowing sections.
Next, take a sharp, sterile knife or scissors and cut the leaf into several sections. Make sure to clear the cutting tool between sections to avoid damaging the new growth.
Place the leaf sections in a jar or container filled with water, ensuring that the cut ends are submerged. Leave the container in a bright, indirect light location and change the water every 2-3 days. After a few weeks, you should start to see small roots forming, and once the roots are around 1-2 inches long, you can plant them in a small pot with well-draining soil.
Soil propagation:
Soil propagation is another method you can use to multiply your ZZ plant. Start by selecting a healthy leaf from the plant, making sure it has at least two stalks. Carefully cut the leaf off the main plant, leaving about 3 inches of stalk attached.
Pre-moisten the soil before planting to ensure it is evenly moist. Using a pot with drainage holes, plant the leaf stalks in the soil, burying them about 1-2 inches deep. Place the pot in a bright, indirect light location and water lightly, being careful not to overwater.
Within a few weeks, you should start to see new growth emerging from the leaf stalks. Once the new plants are about 2-3 inches tall, you can consider repotting them into their own individual pots.
ZZ plants are known for their durability and ability to thrive in a variety of conditions. With these propagation methods, you can multiply your ZZ plant collection and enjoy even more of these beautiful houseplants.
How to propagate a ZZ plant
-
Start by selecting a healthy ZZ plant with multiple stems to propagate from. Look for a plant that has at least 3-4 leaves on top.
-
For water propagation, cut a leaf from the plant using a clean, sharp knife or scissors. Leave at least an inch of stem attached to the leaf. Save the leaf, as it can be propagated as well.
-
Place the leaf or stem cutting in a glass or jar filled with water. Make sure that the end of the stem is submerged in the water, while the leaf remains above the water surface.
-
For soil propagation, prepare a well-draining potting mix. Moisten the soil evenly before starting the propagation process.
-
Take the leaf or stem cutting and plant it in the moist soil, making sure that the bottom inch of the stem is buried in the soil.
-
Place the pot in a bright, indirect light location. Avoid direct sunlight, as it can cause the leaf to burn.
-
Keep the soil moist, but not overly wet, during the propagation process. Water the plant whenever the top inch of soil feels dry to the touch.
-
Within a few weeks, you will start to see new growth from the leaf or stem cutting. This is a sign that the propagation process was successful and the plant has rooted.
-
Once the new plant has developed a good root system and several leaves, it can be potted in its own container.
Propagation by division is another method you can use to multiply your ZZ plants. This involves separating the plant into smaller sections, each with roots and new growth.
ZZ plants are known for their ability to tolerate neglect and thrive in a variety of conditions. Whether you choose water propagation, soil propagation, or division, following these step-by-step instructions will ensure that your ZZ plant propagation project is a success. If you have any questions or need further guidance, there are many blogs and gardening resources available online with more detailed tips for propagating ZZ plants.
Dividing a Zamioculcas plant into several bunches
Dividing a Zamioculcas plant, also known as ZZ plant or Zamiifolia Zanzibar Gem, is a common method used to propagate this beautiful houseplant. Whether you want to create more plants for yourself or give some away to friends, dividing the plant into separate bunches is a great way to accomplish that.
Here’s a step-by-step guide on how to divide a Zamioculcas plant:
| Steps | Methods |
| 1. Preparing the plant | First, make sure the plant is healthy and well-established. Water the plant a few days before dividing it to make sure the soil is adequately moist. |
| 2. Division process | Use a clean and sterile knife or garden shears to divide the plant into smaller sections. Look for natural separations or cut through the rhizome to create multiple sections. |
| 3. Removing excess soil | Gently shake off any excess soil from the roots of each section, making it easier to separate them. |
| 4. Planting the divided sections | Prepare containers with well-draining soil and plant each section separately. Ensure that the plant gets enough light, preferably bright indirect light. |
| 5. Watering and care | Water the newly planted sections thoroughly and place them in a warm and humid environment. Keep the soil slightly moist but not overly wet. |
| 6. Healing and growth | Over the next few weeks, the divided sections will heal and start producing new roots and leaves. During this time, avoid disturbing the plants too much. |
| 7. Update and conclusion | After several weeks, the divided sections will become established and can be treated as individual plants. They will continue to grow and produce the same beautiful foliage as the mother plant. |
Dividing a Zamioculcas plant into several bunches is an effective way to propagate this popular houseplant. With these step-by-step instructions, you can successfully divide your plant and create more beautiful specimens to enjoy or share with others. Happy dividing!
How to divide Zamioculcas zamiifolia the ZZ plant
If you have a ZZ plant and want to propagate it, dividing it is a great way to do so. This update will guide you through the process of dividing your ZZ plant with two easy methods.
The first method requires water propagation. Here’s what you need to do:
- Carefully remove the ZZ plant from its pot, taking care not to damage the roots.
- Find a window where the plant will receive indirect sunlight.
- Take a sharp, sterilized knife or shears and cut the plant into several pieces. Each piece should have at least one stalk and a portion of the rhizome.
- Place each piece in a container filled with water. Ensure that the rhizome is submerged, while the leaves are above the water line.
- Change the water every week to prevent rot and add fresh nutrients.
- After a few weeks, you will notice new roots developing. Once the new roots reach at least an inch in length, you can transfer the ZZ plant to a potting mix.
The second method involves dividing the ZZ plant in soil. Here’s how to do it:
- Carefully remove the ZZ plant from its pot, taking care not to damage the roots.
- Use your hands or a sharp, sterilized knife to divide the plant into several pieces. Each piece should have a portion of the rhizome and several stalks.
- Prepare a new pot with fresh potting soil.
- Plant each divided piece in its own pot, making sure the rhizome is covered with soil and the leaves are above the soil line.
- Water the newly planted ZZ plant thoroughly and place it in a location where it will receive indirect light.
- Keep the soil slightly moist, but not soggy. ZZ plants prefer less watering, so be careful not to overwater.
- Within a few weeks, new growth will appear, indicating successful propagation.
Whether you choose water or soil propagation, dividing your ZZ plant is a great way to multiply your beautiful houseplants. Follow these methods and tips to ensure their speedy growth and propagation.


