A beloved flower for fall landscaping and outdoor decorations, chrysanthemums, or the shortened ‘mums,’ as they’re more commonly known, are affordable and easy to grow. They bloom in a beautiful array of colors that complement the changes of late summer into autumn. Mums and pumpkins are the ‘it couple’ of the outdoors once the air breathes its first hint of crispness.
Though they’re easy to grow or enjoy in containers, they’re not completely invincible. It’s important to check the tag to determine whether your variety is ‘hardy.’ If so, it’s a perennial that can be overwintered, assuming it’s planted in the proper location (we’ll get into that more later). If it’s an annual variety that’s only used for decorative purposes, called florist or cutting mums, you can still enjoy numerous weeks with plentiful blooms. Whether it’s planted or potted, we’ve rounded up the seven best ways to bring your dying mums back to life and help them hold on through the end of autumn.
Give them sunshine

Are the flowers on your plant starting to wilt? Or maybe their saturation looks faded and tired, and not nearly as vivid as the day you brought them home. Perhaps they’re growing leggy, with long, spindly stems but fewer flower buds. These are all tell-tale signs that your mum isn’t receiving enough sunshine. First, it’s important to note that they grow best in hardiness zones five through nine. So, if you’re located outside this region, you may experience a mountain of mum problems. The next important piece is that they require a minimum of six hours of strong sunlight each day. More is certainly ideal, but six is the minimum.
If your mums are in pots, this is an easy issue to fix. Simply move them to a bright, sunny location. We know this may be disappointing, especially if you wanted a burst of color on your covered porch. But, you’d be better off using a different colorful flower like asters that perform well in shade.
If your mums are already in the ground, you can try transplanting them to a sunnier location and see how they fare. The best time to do this is late summer into early fall. They’ll need some extra TLC to recover from the shock of moving but should recover with the proper care.
A good drink of water (but not too much)
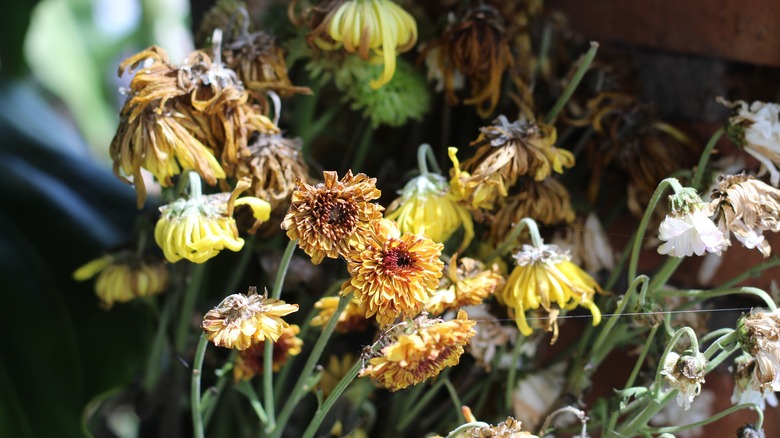
You’ve stepped outside and your vibrant, burgundy mum is now turning a crispy brown. The most likely culprit? A very thirsty plant! Mums in containers are notorious for drying out quickly. They require more frequent watering than established mums growing in the ground. No matter where your plants are, though, brown leaves and shriveling blossoms are clear indicators of dryness.
To bring your flowers back to life, evaluate the state of the soil through touch. It should always feel moist, so this usually means watering every couple of days (but keep a closer eye on it during extra hot days). If the soil is dry, it should be watered immediately. Always water at the base of the plant with a deep soak. Avoid splashing the leaves because that can lead to fungal problems. If your containers seem to dry out no matter what you do, it may be helpful to place a dish underneath to assist with moisture retention.
However, be forewarned that mums can be temperamental when it comes to water. Moist soil is good but soggy is bad. Too much water causes its own set of problems, like root rot and mold. Overwatering can be identified by yellowing leaves that then turn black and fall off.
Give them better soil
Max_555/Shutterstock
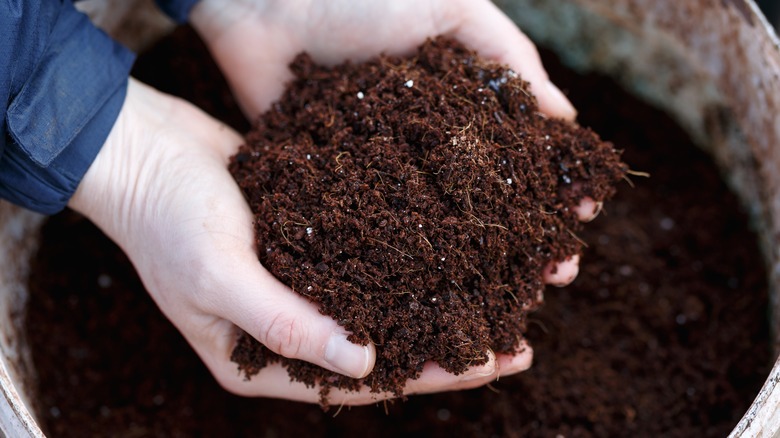
If your mums are still suffering even after boosting their sunlight and water intake, poor soil may be to blame. This is especially true if you bought the plant at a garden center and then left it in that same pot. Oftentimes, they’re root-bound, which means the roots are tangled together without any room to spread out, and the pot is too small. Mums need soil that is well-draining, and the soil can’t properly regulate moisture with the roots in this state.
Repot your purchased mum as soon as you can once you bring it home. Choose a container that’s a couple of inches bigger to give the roots room to stretch. And, be sure to use potting mix to avoid any drainage issues from the get-go.
For mums in the ground, you may experience issues if your soil has clay or is too dense. Thankfully, this is a fixable problem! You can either backfill the holes with quality gardening soil or amend the dirt with beneficial compost, mixing it in at an 8- to 12-inch depth.
Protect them from frost

Ilona Lablaika/Shutterstock
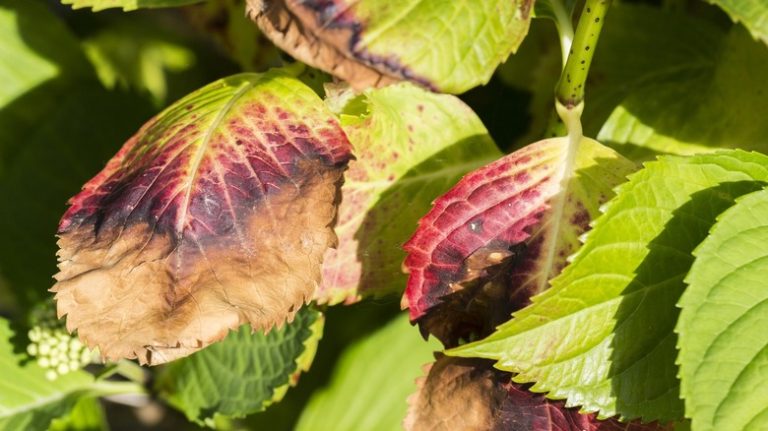
A surprise frost hit overnight, and now your mum is looking a little worse for wear. But wait, you thought they were cold-hardy! Overall, they’re among plants that thrive in cold weather and can withstand temperatures that other flowers can’t. Mums in the ground can survive lows in the 20-30 degree range, though potted mums aren’t nearly as resilient. However, frost is more extreme than just cold temperatures. Signs of frost damage include brown/black leaves, wilted flowers, and stems that are soft to the touch.
As long as it doesn’t become a repeat occurrence, your mum should be able to withstand a one-off frost exposure. When they’re in the ground, cover them with burlap, sheets, or towels any time there’s a chance of frost. Bring containers inside for the greatest amount of sheltering. If you’re trying to prolong the life of a potted plant, avoid watering right before freezing weather hits, as that makes the roots even more susceptible to harm. You may be tempted to prune damaged stems or flowers, but leaving them alone is less traumatic to the plant and thus offers it greater protection.
Go easy on pruning and deadheading
Christine_kohler/Getty Images
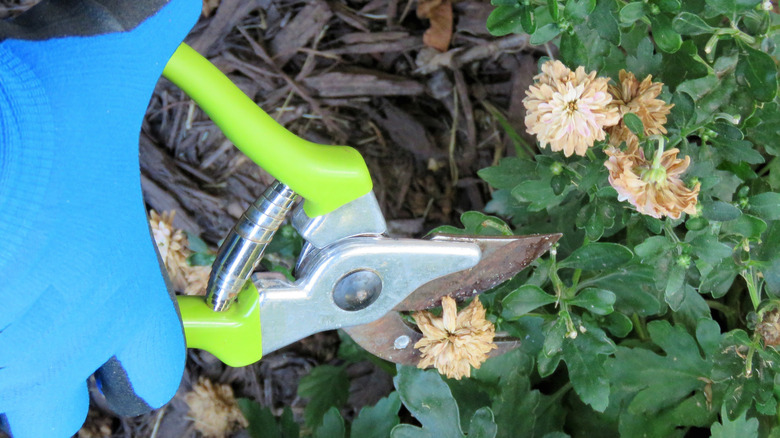
While some flowers thrive with consistent pruning, mums do not. Maybe you’ve checked all the other boxes — adequate sunshine, proper moisture, and good soil. But if everything continues to wither, improper trimming could be the culprit. Occasional deadheading is beneficial for both containers and those in the garden bed. However, only established plants in the ground need to be pruned, and both the timing and the frequency are essential for maintaining healthy growth.
If you’ve been a little too scissor-happy in the garden, there’s still hope for your mums to bounce back, but it depends on how much time is left in the season. If it’s early days, the plant should have enough time to channel energy into new growth. To avoid this problem in the future, don’t prune until the spring. Wait until you can see at least six inches of growth, and then snip an inch off the stem. It’s safe to do this a couple more times throughout the summer. You’ll be rewarded with greater blooms and a lush, compact shape.
As for deadheading like a pro, watch for flowers to turn brown, with a dried-out appearance. Then, use your fingers to pinch the head off the stem in a clean break. If it’s a large mum, grab some garden shears to speed up the tedious task.
Nourish with fertilizer
Wihteorchid/Getty Images
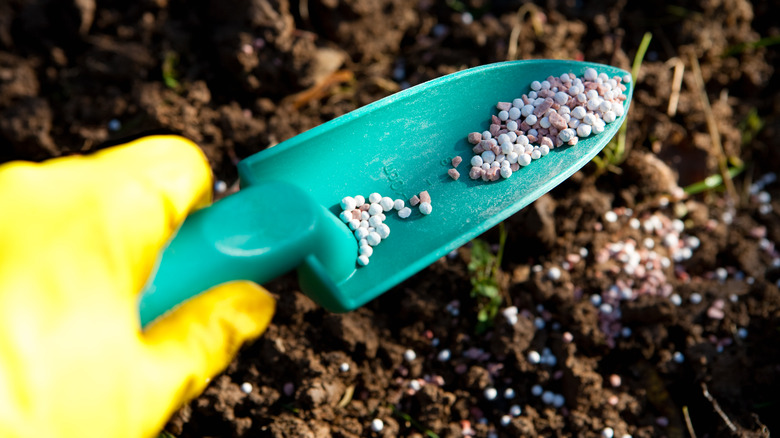
Mums can turn brown if their soil is lacking adequate nutrients. They’re considered heavy feeders that need lots of support. So, if you’ve missed a few applications (or haven’t fertilized at all), now is a good time to jump on it and bring your dying mums back to life.
For containers, be prepared to nourish more often. This is due to watering keeping things moist and healthy. It’s a double-edged sword because the water causes nutrients to leach out of the soil and they’re not replenished unless you do it yourself. Look for plant food high in potassium and nitrogen, as this will boost both flower size and volume. Carefully read (and follow!) the instructions. The temptation to overdo it can be strong, especially when your flowers look so pitiful, but overfeeding can chemically burn them.
Established mums benefit most from carefully planned fertilizing. The plan can be tailored to the plant’s specific needs during each growth stage (from root development all the way through to the first flowers blooming). If this sounds too time-intensive, a simpler alternative is applying a slow-release formula in the spring that will finish by midsummer.
Keep pests away
SaNataPhoto/Shutterstock
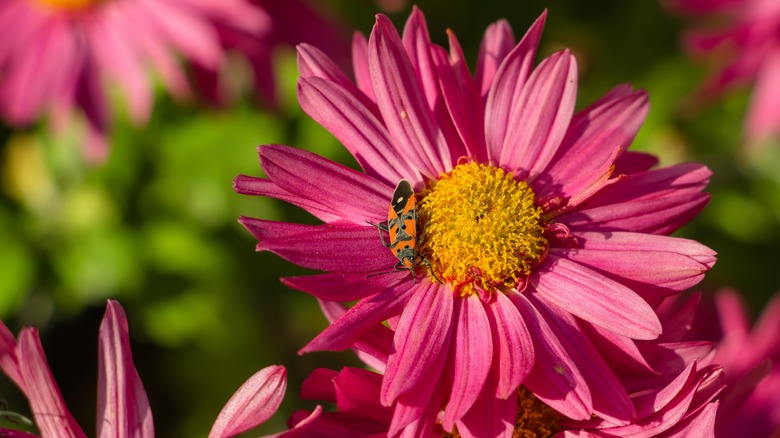
Thanks to their natural production of a chemical called pyrethrin, mums possess impressive pest control powers. The toxin is deadly for bugs and works so well that it’s a common ingredient in many insecticides. Unfortunately, it doesn’t repel every creepy crawly in the garden, and there are still several insects that will cause problems for mums. Three common offenders are aphids, spider mites, and leaf miners. When they’re already hanging by a thread, the last thing you want is an infestation of bugs to suck the remaining life out of your plants. Telltale signs include yellowing leaves and wilting.
Unlike some of the other issues we’ve mentioned, bug problems can be cleared up quickly, as long as they’re detected early on. You don’t want to give the critters time to overtake the flowers in a full-blown infestation. Yellow leaves often signal aphids, so start by removing the discolored foliage. Finish by spraying the plant with a strong stream of water to knock off any remaining aphids. Spraying with insecticidal soap also works well. For spider mites and leaf miners, remove the damaged leaves and then treat the foliage with neem oil.


