White, yellow, red, or orange — the delightful poppy is the go-to flower to brighten the garden with popping colors. And if the landscape requires a more exotic palette, shades of purple, mahogany, cream, and even blue are available. The drought-tolerant plant can be grown as an annual, biennial, or short-lived perennial depending on the variety and microclimate. That’s not to say that poppies are easy plants to grow, because they’re anything but. Between the seeds’ need for chill hours and the established plant’s sensitivity to cold weather, the delicate poppy can be a handful.
In fact, there are quite a lot of mistakes everyone makes when planting poppies. Even sowing the seeds has to be executed in a specific manner, at the right time, and in well-prepared soil to maximize the success rate of germination. Moreover, the sun-loving blossoms need less water than many other floral plants, and hardly any fertilizers. But don’t let any of these particular demands deter you. If you prefer to grow your own poppies instead of buying them at the local nursery, then these tips will come in handy.
Choose the right time and location for planting
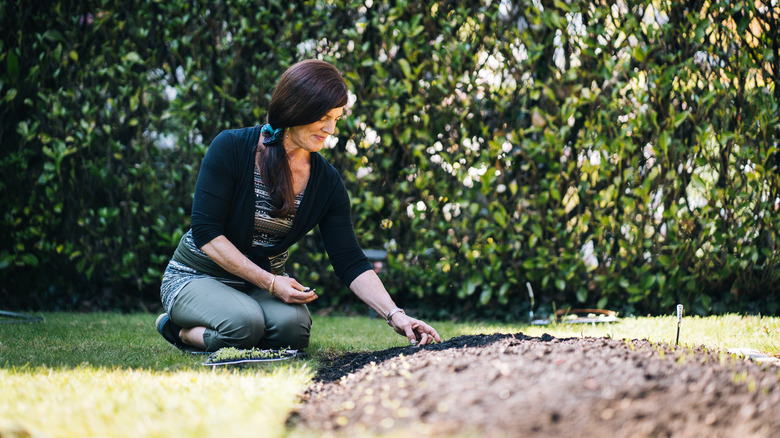
When it comes to growing healthy poppies from seeds, timing is a crucial factor. If you live in zones 2 to 6, it’s better to plant the poppies in the early spring, when the soil is workable. In moderate to warm zones between 7 and 10, where the soil doesn’t freeze in the winter, the best time to sow the seeds is in the late fall. For spring planting, you can boost the germination success with cold stratification. Simply wrap the seeds in a moist paper towel, place them in a zip-lock bag, and keep them in the fridge for a couple of weeks.
Many poppy varieties require cold temperatures to germinate. Since poppy plants don’t do well when transplanted, it’s recommended to sow the seeds directly in the garden. Choose a spot that gets full sun exposure. The plants need at least six hours of sunlight every day to produce large blooms with rich colors. Varieties such as Flanders Poppy, Opium Poppy, and Himalayan Poppy can tolerate partial shade. Bloodroot, on the other hand, is a unique species that thrives in partial or full shade as long as it gets some sun in the early spring.
Prepare the soil beforehand
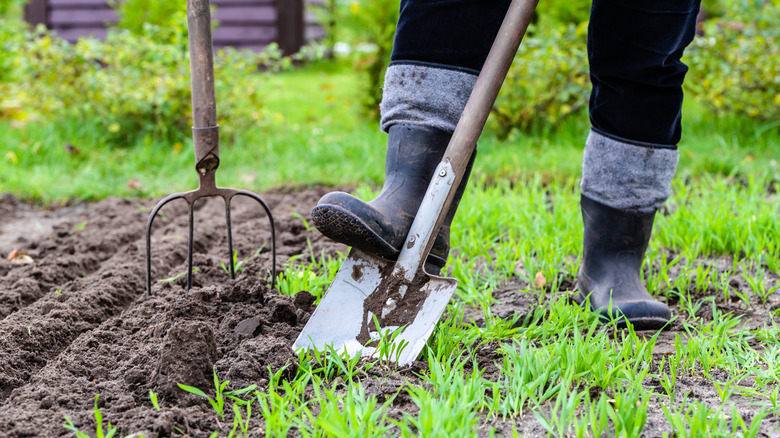
The soil texture, drainage, and pH are all considerations that can make or break the poppy plant. The ideal pH reading for the poppies should be around 5.8. If the loam contains high levels of manganese, this low pH makes the mineral soluble, which renders the soil unsuitable for the poppy. To fix the manganese issue, you could try to raise the pH levels above 7.0 to render the nutrient insoluble. But that solution could take years, so it’s better to find another area in the garden with only trace amounts of manganese. Till the top 10-12 inches of the humus, removing all weeds, debris, and leaves. To loosen the texture and improve drainage of clay, add a dose of organic material. An alternative option is to build raised beds for better draining. As for sandy soil, mixing in food waste compost will increase water retention.
Poppies thrive in slightly acidic, loamy soil that drains well. Clay gets waterlogged, which can damage the root system of the plant while sandy topsoil drains too quickly for the roots to absorb the moisture.
Mix the seeds with sand and thin out the seedlings
alex_gor/Shutterstock
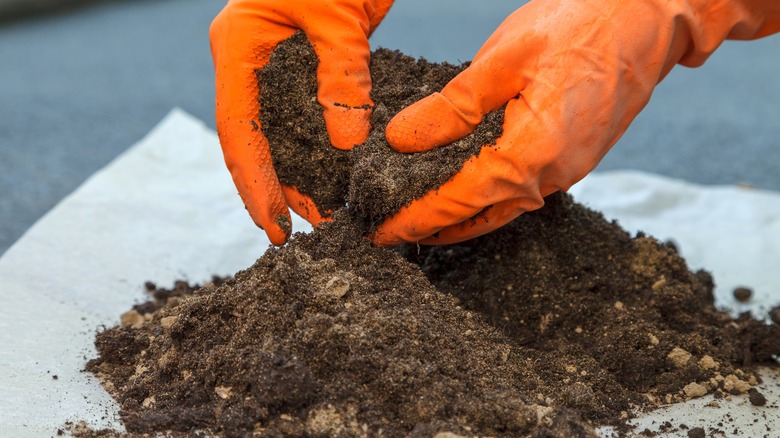
It’s safe to say that sowing poppies is a balancing act. Since the seeds are very tiny, there’s always the risk of over-seeding or a powerful gust of wind blowing them away. At the same time, the seeds need light to germinate, so you can’t plant them in deep furrows or bury them in the topsoil. This is why you should mix the seeds with dry sand to spread them equally across the surface of the tilled bed. After scattering them, tamp them with your hand or use a rake to cover them with a thin layer of soil. Then water lightly and keep the bed moist but not wet.
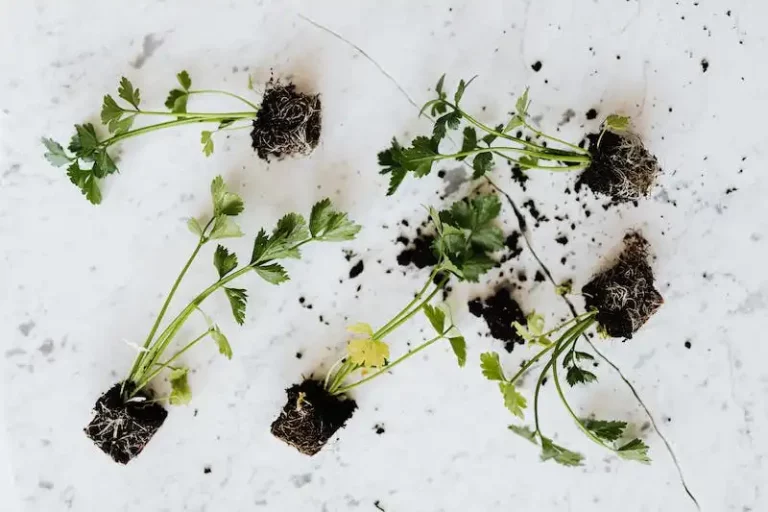
The seeds take between two to four weeks to germinate depending on the temperature, variety, and stratification process. Seeds planted in the fall will stay dormant throughout the winter and sprout in the next spring. Using mulch around the seedlings helps to suppress weeds and keep the soil moist. When the poppies are 2 to 4 inches tall, thin them out by pulling the weak and unhealthy ones. Spacing the seedlings about 6 inches apart improves ventilation and prevents diseases.
Don’t overwater drought-tolerant poppies
Global Images Ukraine/Getty Images
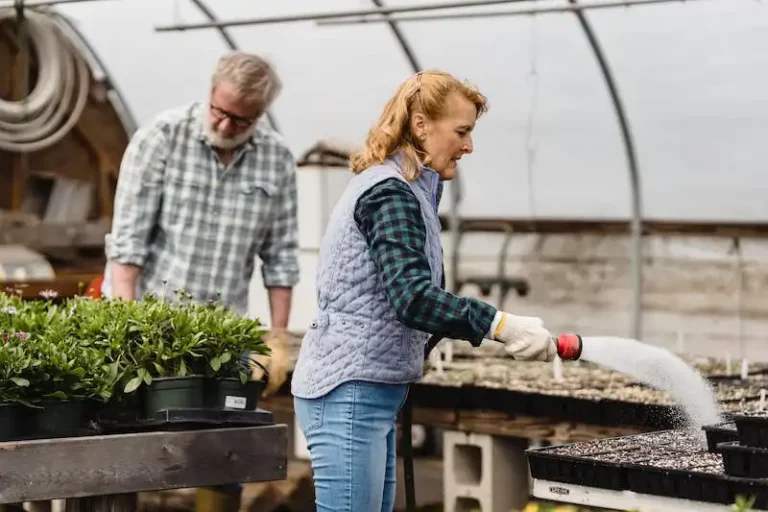
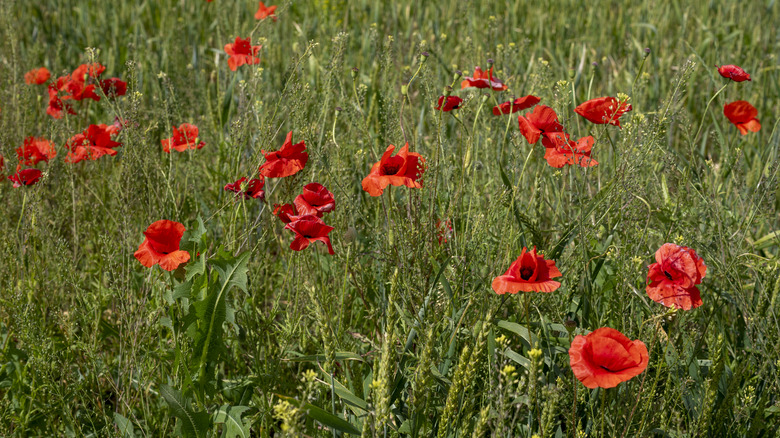
The water requirements of poppies vary based on what stage of development they’re in. While the seeds and seedlings enjoy constantly moist soil, the established plants are more drought-tolerant and watering should be offered on an as-needed basis. Whether annual, biennial, or perennial, over-watering can be detrimental to the poppy’s health even in well-draining soil. Signs of an overwatered plant include browning leaves, wilting stems, drooping flowers, and a rotting root ball. If you have trouble maintaining a moist flower bed for the young plants, divide one inch of water (the equivalent of 0.6 gallons of water per square foot) into three portions. Apply one portion every couple of days to get the soil evenly damp without risking over-watering the seedlings.
The established poppies need only 1/2 inch of water every 10 to 14 days in normal weather, to be increased to 1 inch a week during hot and dry spells. If you get rainfall, that counts as part of the quota. Always irrigate the plants in the early mornings and avoid overhead irrigation to prevent infections and diseases. When the poppies go dormant, hold off watering unless the soil gets too dry.
Eliminate these pests
Tomasz Klejdysz/Shutterstock
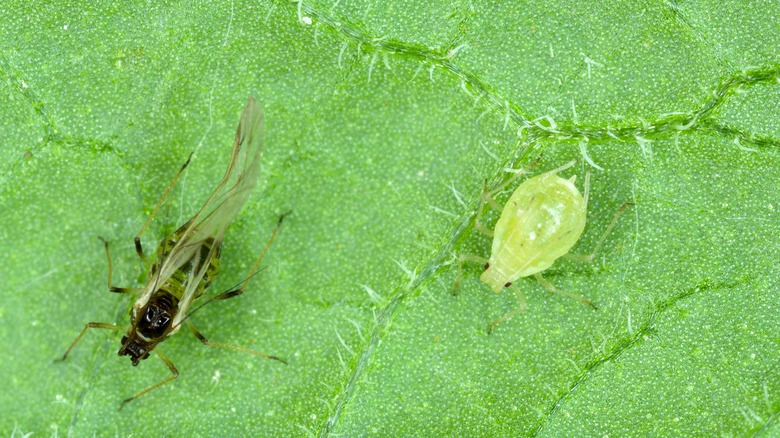
At the top of the list of pests to control, aphids rule supreme with their destructive eating habits, the other pests they attract, and the diseases they carry. The three aphid species that attack poppies are black bean aphids, green peach aphids, and melon aphids. To get rid of aphids, spray the plants with a strong water stream, remove the infected leaves, and apply neem oil or insecticidal soap. Other pests, including Hoplia beetles and spittlebugs, are also attracted to poppies. Hoplia beetles are quarter-inch-long beetles that feed on the petals of the flowers. Control the bugs by picking them off by hand and drowning them in a bucket full of soapy water. Like aphids, spittlebugs feed on the juices of the plant and create unsightly balls of foam on the leaves. Hose them off the poppy and remove weeds regularly.
Pests can wreak havoc on poppies, significantly impacting their health and blooms. Aphids all feed the same way, making holes in the leaves and stems and sucking the white latex-like sap. This causes wilting, yellow leaves, poor blooming, and stunted growth. Furthermore, black bean aphids inject toxins into the plants and carry cucumber mosaic virus, leading to leaf deformation and galls. The honeydew the insects secrete attracts ants and causes sooty mold fungus. By eliminating pests, you decrease the risk of these serious problems.
Watch out for diseases
Monika L-S/Shutterstock
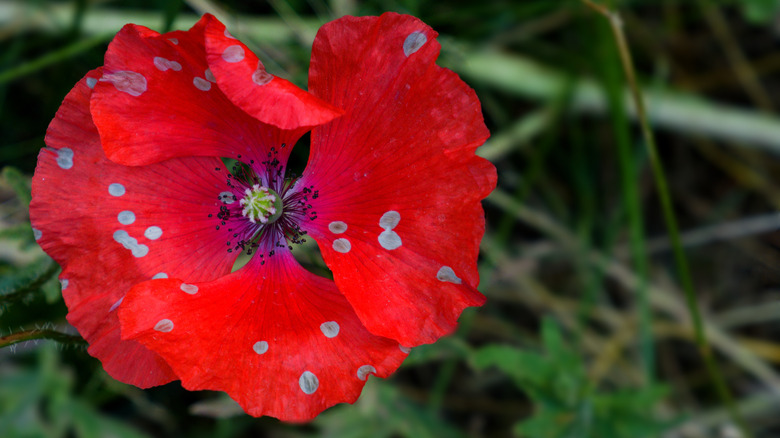
Downy mildew, powdery mildew, and root rot are common poppy diseases. Fungal spores cause downy mildew and appear as necrotic lesions on the upper side of the leaves. As it progresses, yellow or purple patches form on the stems, buds, and underside of the leaves. Good ventilation around the plants and keeping the foliage dry are effective preventive strategies against the disease. Powdery mildew is another fungal infection that appears as white powdery growths on the leaves and flowers. It affects poppies growing in partial shade, so keeping the plants in the sun protects them from new infections. Root rot thrives in wet soil, stunts the plant’s growth, and is often fatal. To deal with root rot, don’t overwater the poppies and make sure the soil is well-draining.
A sick poppy doesn’t blossom. And if it does, the flower won’t be as large or bright-colored as a healthy one. Bacterial blight is a disease that affects every part of the plant, including the blooms. Xanthomonas bacteria cause the infection which appears as soggy spots on the petals, leaves, and stems with translucent circles around them. In advanced stages, poppies would wilt and collapse under their own weight. There’s no cure for bacterial blight, so removing sick plants and avoiding overhead watering can prevent the spread of the bacteria.
Select the best varieties for your microclimate
Sieboldianus/Getty Images
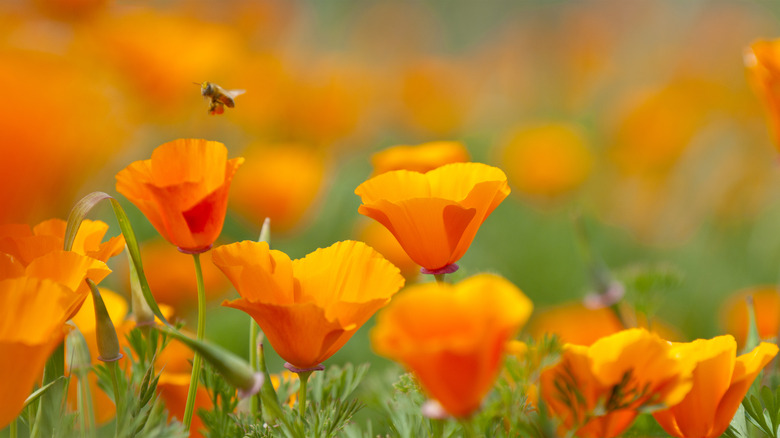
Since the microclimate is a major factor in the health and growth of poppies, selecting the right variety is key to filling the garden with colors. Of the 50+ poppy species grown as ornamental plants, only a handful are hardy to a specific growing zone at a time. For cold zones, the Arctic Poppy, Alpine Poppy, and Icelandic Poppy are excellent choices. Some species can handle varying temperatures and humidity levels across cold to temperate zones. These include the Breadseed Poppy, Oriental Poppy, Celandine Poppy, Himalayan Poppy, and Bloodroot.
For temperate hardiness zones, the Plume Poppy is an ideal option. While the majority of the species thrive in mild temperatures, some poppies can handle the high humidity and excessive heat of warm zones up to 10. If you want to grow poppies in the garden under these conditions, the Spanish Poppy, California Poppy, Flanders Poppy, Ladybird Poppy, and Matilija Poppy should do well. In addition, many cultivars have better tolerance for cold or hot weather than the natural species and produce flowers in a wide variety of colors. The best place to get these cultivars is at the local nursery in your area.
Protect biennial and perennial poppies throughout the winter
larisa Stefanjuk/Shutterstock
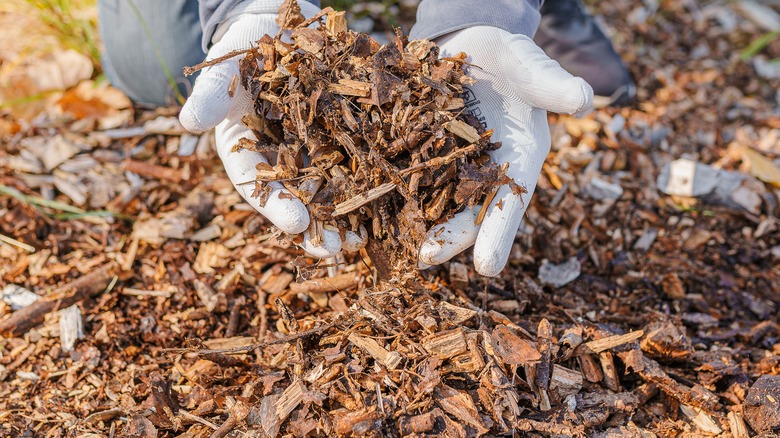
Unless your poppies are happy annuals that die out at the end of the season, you have to prepare the plants for the impact of winter. As biennials and short-lived perennials, poppies often struggle in the winter, especially during the first year when the roots haven’t fully developed yet. Mulching with pine needles or bark chips insulates the root system against the freezing temperatures above ground. Depending on how cold it gets in your area, 3 to 4 inches of mulch will do the job. To preserve the poppy’s energy throughout the cold months, wait for the foliage to die, then cut it down to the ground.
In cold zones where frost is a threat, protecting the rootball of the plants is key to their survival. Between freezing and thawing, the roots might either die or rot. Making sure that the soil drains well will prevent standing water from freezing and killing the dormant poppy or causing root rot if it doesn’t freeze over. After the last frost in the spring, remove the mulch to help the plant acclimate to the warming weather.

