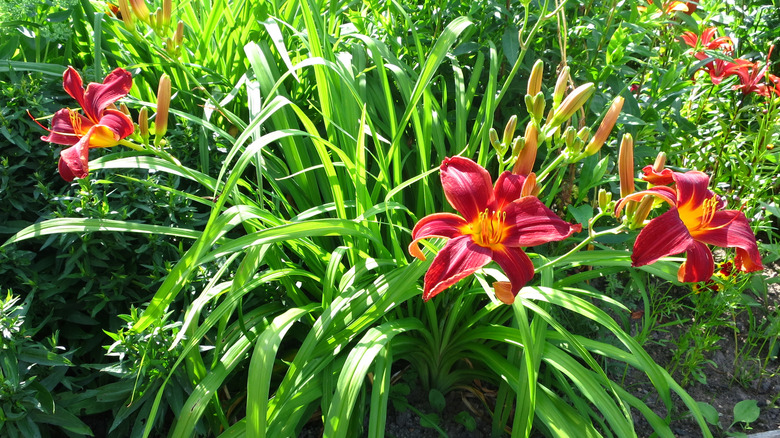
More commonly known as the daylily, Hemerocallis was named after two Greek words that mean “day” and “beautiful.” As its name implies, the daylily is a beautiful flower that only blooms for a single day, per Grower Direct. Daylilies are very tough plants with fleshy roots, outstanding foliage of thin leaves, and a leafless stem that rises above everything else to produce its elegant and beautiful trumpet-like flower. The flower can come in various shapes, sizes, and colors, including pastel color shades, such as yellow and pink. Although the size differs, these plants can grow up to 6 inches and even 6 feet tall.
The plant originated in Asia, natively appearing in China, Korea, and Japan. Due to its durability, however, the daylily is now seen growing in various places around the world, Longfield Gardens notes. So if you are looking for an easy, maintenance-free flower to add color and a bit of elegance to your yard, the daylily is perfect for you. Here’s how to get started.
How to use daylilies in a garden
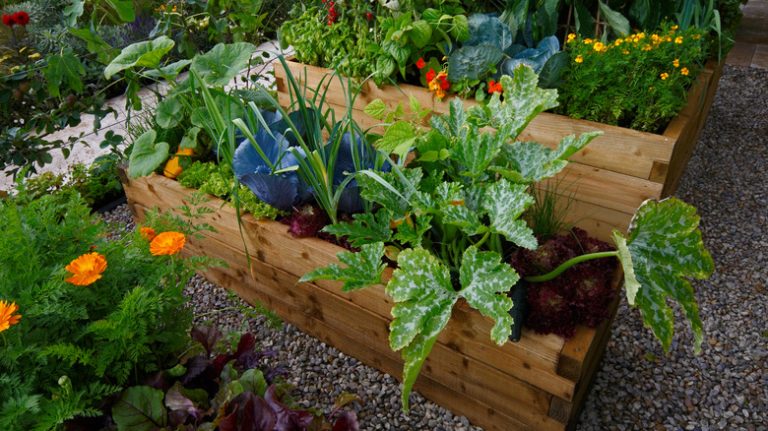
Daylilies are some of the easiest yet most beautiful flowers you can add to your garden. Depending on their shape, color, and size, you can squeeze them anywhere in your garden to add pigment, elegance, and texture. Enchanted Gardens recommends using the daylilies in a location where they can either match or add contrast to other colors and textures in your garden. For example, you can create a remarkable diversity in your backyard with needly or feathery evergreen trees and daylilies planted nearby.
Daylilies can also act as a cute and elegant border around sections of your garden. You can even line a garden pathway or the passage leading to your front door with daylilies as a beautiful way to welcome guests to your home. Walters Gardens also mentions that daylilies have big, bright flowers that can light up any space with color. For example, if you have a rather plain balcony, porch, or deck, daylilies can be easily placed in pots to brighten the area with color and beauty.
How to grow daylilies
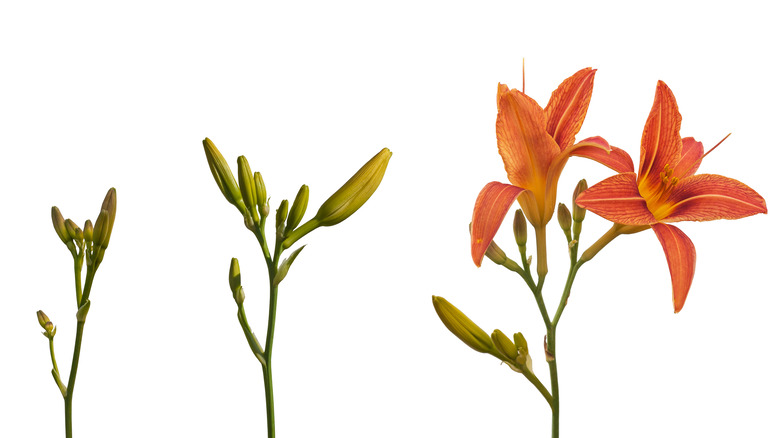
Growing daylilies from seeds can be as easy as planting them directly outside in their permanent position. There is no separate germination process the seeds must undergo or transplant necessary for this plant. Instead, simply place your seeds ½ to ¾ of an inch deep into rich, moist soil and water frequently as they begin their germination process. Gardening Know How notes that small plants should begin to sprout within two weeks of planting the seeds; however, it may take a year or two before those plants can produce beautiful flowers.
Longfield Gardens suggest waiting till the early spring to plant your daylily seeds, giving them a better opportunity to germinate naturally as other plants start emerging from their season of dormancy. If you’re permanently growing your daylilies in a pot, they can be planted during their blooming season, later in spring. However, if you ever plan on transferring potted daylilies to your garden outside, ensure you transplant during their blooming season, when it is warm and frost no longer lingers over the area.
How to care for daylilies
photowind/Shutterstock
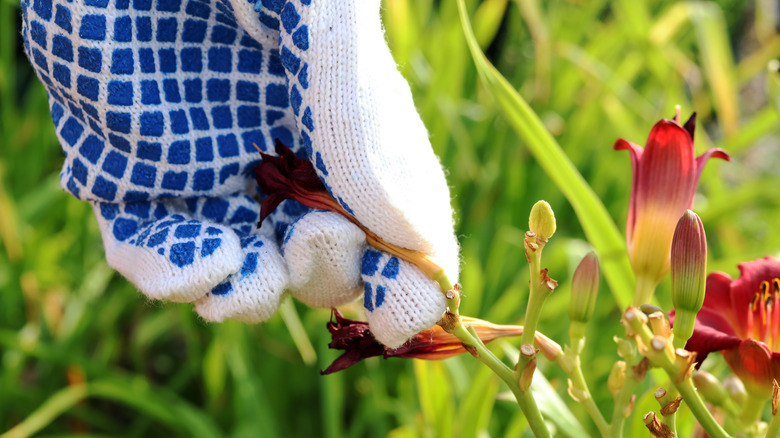
Daylilies are known for being very hardy plants. They are beautiful flowering plants that can survive harsh climates, limited sunlight, and nutrient-deficient soil. They also remain relatively pest and disease-free throughout their life (per Almanac). However, despite their ability to survive through neglect, there is something you can do to assist the plant in staying healthy and thriving for more extended periods.
Longfield Gardens suggests placing your daylilies in a well-lit area, preferably in a full sun location, even though they can survive just as well in the shade. According to Almanac, daylilies love nutrient-rich soil; to help satisfy this preference, you can add aged manure or compost to their soil. Although these flowers can handle long periods of drought, continuously give your flowers at least 1 inch of water per week if it is not already satisfied by rainwater. To help them retain moisture, you can also place mulch around the area. Dead foliage should also be removed as the flower goes through its blooming season to encourage the quick growth of new flowers and other healthy portions of the plant. Although it is not necessarily helpful, you can also use fertilizer to strengthen the bloom season and the flowers that appear.
Varieties of daylilies
akshal60/Shutterstock
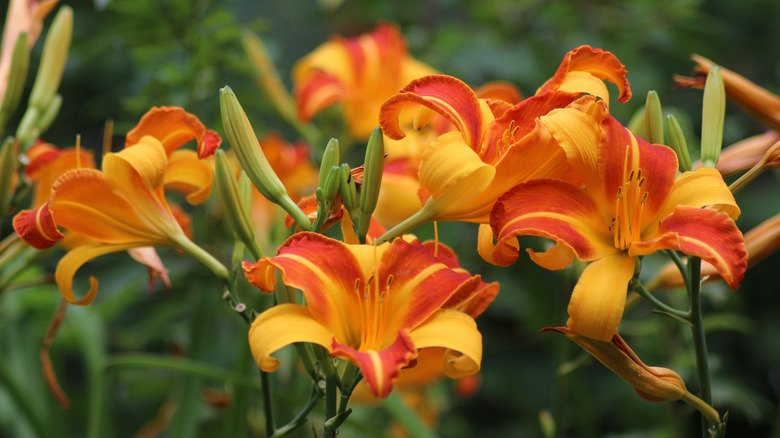
As daylilies spread and became popular worldwide, their flowers adapted and changed based on the wants and needs of the gardener. Today, there are thousands of varieties of daylilies differentiating in size, color, and shape, as per Wallitsch Garden Center. Let’s take a look at some of them below, as noted by Truly Experiences:
- Stella De Oro Daylily (Hemerocallis Stella de Oro) — This is the most popular and widely used variant of the daylily, producing golden, horn-shaped flowers.
- Common Orange Daylily (Hemerocallis liloasphodelus) — This variety was first brought to North America as an ornamental plant in the late 1800s, and produce bright orange blooms.
- Long Yellow Daylily (Hemerocallis citrina) — This is one of the tallest varieties of daylilies, growing well in meadows, mountain slopes, and open woods.
- Amur Daylily (Hemerocallis middendorffi) — This variety is native to northern parts of Asia and even parts of Russia, producing beautiful orange-yellow flowers that grow well in the wild.
- Dwarf Daylily (Hemerocallis minor) — This cultivar is a shorter version of the daylily, only growing 1 to 2 feet in height.
Are daylilies toxic?
Daykiney/Shutterstock
Daylilies are in no way toxic to humans; they are commonly used in a variety of Asian cuisines. PBS mentions that the most prized part of the daylily is its bulb, which can make a delicious snack to share when battered and fried. Allergies, however, should be taken into account before indulging in these exotic treats.
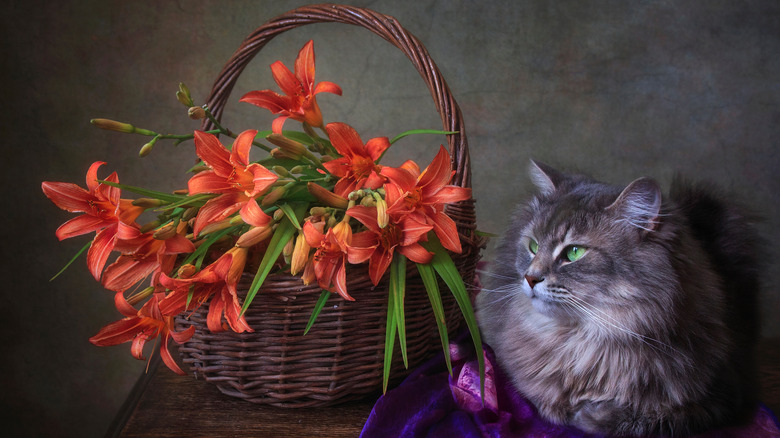
Daylilies remain non-toxic to dogs as well; however, look-alikes can cause problems for canines. Unfortunately, cats are a different story: Garden Guides warns that the consumption of daylilies can cause some major problems for cats. Within a few hours of consuming any part of the daylily, the toxins kick in and cause the cat to lose appetite and possibly start vomiting. The overall results could lead to kidney failure if not treated properly. So, when planting daylilies, ensure your cats have limited access to the flowers and double-check to make sure they are real daylilies before letting your dog roam free around them.
How to repot daylilies
Happy Dragon/Shutterstock
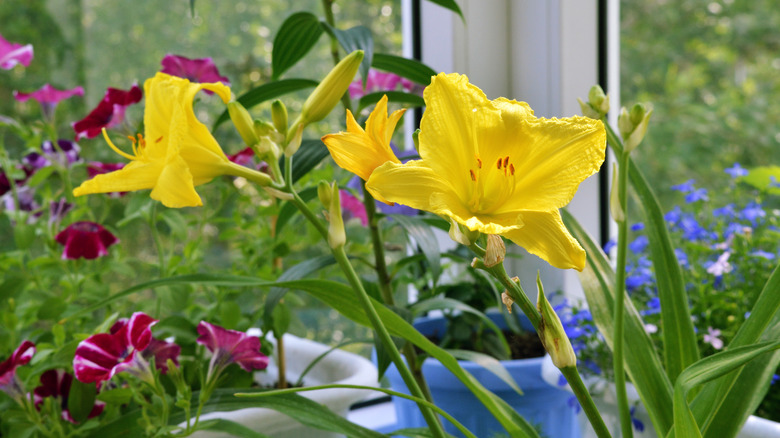
Daylilies can grow beautifully in a potted setting, whether on a porch, patio, or window inside your home. However, as the flower matures and roots grow, the plant may need to be moved to a bigger space. Daylily roots are known for expanding, meaning the new pot for your plant should be wider rather than deeper. Also, ensure you allow a flow and drainage of water similar to their natural habitat, Plant Addicts recommends.
Adrian Higgins from the The Washington Post presents the process of repotting a plant, which you should do in the spring to allow it an easier recovery after the transfer. Once you remove the plant from its current pot, get rid of the dirt from the roots and loosen up the roots, reversing their restriction to the previous pot. Before putting the daylily in the new container, line the bottom of it with fresh potting soil and adjust as needed to alter the plant’s height. The top of the roots should be approximately 1 inch below the pot’s rim. When ready, center the plant and fill in the sides with potting soil. Finish by tightly packing soil down to avoid air pockets and thoroughly water to help the roots settle in their new environment.
Common problems for daylilies
Aleksandr Rybalko/Shutterstock
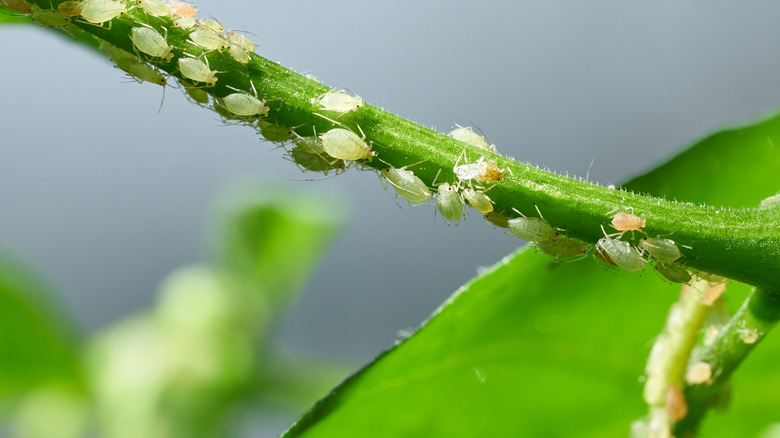
Again, daylilies tend to remain relatively disease and pest-free throughout most of their lives; however, some minor problems can slip through the cracks. Smokey’s looks at those problems and introduces ways to fix and prevent them. Spider mites are the most common pest that tends to attack daylilies, especially when the weather is warm and dry. Daylilies also have a specific aphid, which can moderately harm the plant. Spider mites can be easily controlled by hosing down the plant whenever it becomes infested, but aphids are more difficult to deal with. Pesticides can protect the plant from both pests, as long as they do not include Kelthane.
These flowers tend to attract mainly fungal infections, including rust and leaf streak, when it comes to diseases. Daylily rust simply looks like specks of dust scattered over the plant, and just as it implies, leaf streak can be identified by the yellow streaks across a leaf accompanied by brown spots and dead foliage. According to Smokey’s, you can easily remedy these fungal diseases with fungicides. However, to prevent them going forward, you should ensure your daylilies have plenty of space for air circulation. Also, ensure you avoid build-up moisture amongst the plant’s foliage, crown, and roots.

