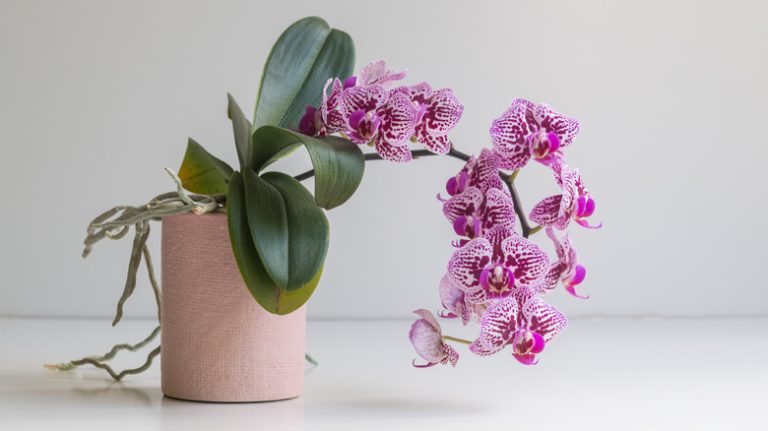
The orchid (Orchidaceae) is a beloved houseplant. Available in a multitude of colors, including pink, purple, white, yellow, and red, this sweet-smelling plant is considered to bring good luck and prosperity to your home. Though orchids are fairly easy to care for, when it comes time to repot this delicate houseplant, it can be difficult as its exposed roots are susceptible to diseases. Therefore, it’s important to know both when you need to repot your orchid and how to do so.
If you notice your orchid’s white roots beginning to poke out of its pot, it’s a clear indication that the plant has outgrown its current pot and needs more space. You may also need to repot your plant if the potting mix begins breaking down. In this case, your orchid will show clear signs of root rot since the soil won’t drain well and as a result, it will retain moisture and attract fungus.
How to repot orchids

You also need to make sure to pick the right time for repotting your orchid. A general rule is not to disturb the root system when the flowers bloom — instead, repot your orchid immediately after it produces flowers.
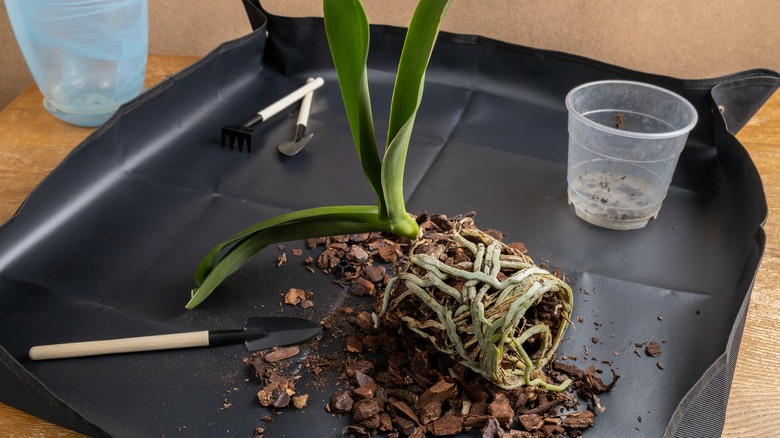
To repot your orchid plant, purchase a pot that’s at least 1 to 2 inches larger than the current one. Put your potting mix in a large container and pour boiling water — almost double the amount of the mix — on it. Let the mix cool down to room temperature before draining it. Before you proceed, combine ½ cup household bleach with 1 gallon of water to make a DIY antibacterial solution, and soak your gardening tools and the new pot in it to prevent your sensitive plant from being attacked by bacteria and other germs.
Slowly pull out the plant from the old pot and clean excess dirt off of the roots before using sterilized scissors to snip off brown and rotting roots. Add the pre-soaked potting mix to the new pot and place the orchid in it. Use chopsticks or dull skewers to add some mix between the roots.
Care for your orchid plant

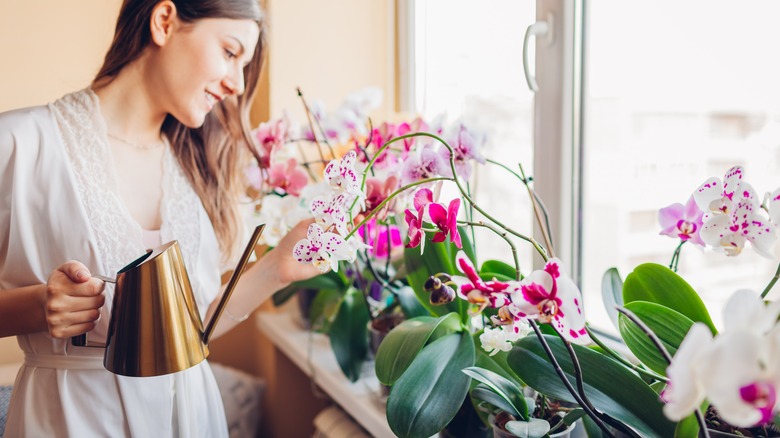
After you’ve successfully repotted your orchid, your plant will need some extra love and care to thrive in its new home. Add some fertilizer to the potting mix and add water until the pot is soaked. Do this once a week to encourage the growth of new roots. Additionally, keep your orchid in a location where it receives plenty of indirect sunlight, like near some east-facing windows.
Additionally, your exotic houseplant will do best if it’s kept between 65 to 80 degrees Fahrenheit during the day and between 60 to 70 degrees at night. Don’t water your orchids until the top inch of soil is dry to the touch, and give them more water during the hot, summer months. It will need far less water in the winter, as the orchid will go dormant.
Remember to repot your orchids every year or two to give them space to grow and to prevent root rot and tightly tangled roots.


