Imagine waking up one morning to find your beloved garden waterlogged. After ruling out a surprise deluge or prankster, you face the likely offender: your sprinkler system revealing its new, less-than-impressive fountain impression. So, what’s the most likely culprit behind those rogue water spurts? Spoiler alert: It’s not the vindicative neighborhood kid who hates yard aesthetics. The answer likely lies in the sprinkler valves. These unsung heroes regulate the water flow to your sprinkler head, ensuring timely watering for your green buddies. But sometimes, they falter, with debris and physical damage being the frequent culprits. This often spells out leaky chaos. Fixing a troubled valve might range from a quick scrub-down to a full-blown replacement, each endeavor taking its share of time and a nominal dent in your wallet.
A leaky sprinkler valve can leave you grappling with severe water wastage — potentially thousands of gallons per month. Topping off the impact of this liquid extravaganza is a spike in your water bill and potential landscape damage. But much like the plot of an overzealous serial, other characters could be causing their share of chaos in this watering debacle. Think of broken pipes or clogged or damaged sprinkler heads. But remember: Enlisting the help of specialized equipment or an irrigation leak detection service near you is your best bet for those sneaky underground leaks.
How to troubleshoot a leaking sprinkler valve
Picture the sprinkler valve as that unassuming yet effective coworker who keeps the office ticking, but anarchy ensues when they hit a rough patch. Compromised by a damaged diaphragm, cracks, or debris buildup, this unsung champion can crumble under strain and spring a leak. The possible outcome? Irregular water pressure or lawn portions resembling the Sahara Desert — while others, the Amazon rainforest. But again, can the irrigation system leak even if turned off? Indeed, particularly if the valve is damaged or improperly sealed.
On how to replace a sprinkler valve, determine its specifics and find an identical replacement. Once you deactivate your irrigation system’s water and electrical supply, remove the flawed valve, spruce up the installation area, and mount the new unit. And if only the diaphragm is problematic? Disarm the valve system, component by component— the solenoid, bonnet, spring, and the show’s star, the diaphragm. Next, examine the diaphragm; if clogged, wash it with clean water to dislodge the dirt. Some disrepairs are beyond the TLC, though, and necessitate replacement. After swapping out any broken parts, gradually turn on the water supply to check that it works. Your valve should be leak-free and back on its superhero duty.
Other suspects

K TheGuy/YouTube
Another culprit for leaks in irrigation systems is the sprinkler head. These components can crack or break due to freezing temperatures, general use, and inadvertent impact from heavy equipment or lawn mowing. Or it’s just debris. Broken lines are another cause — elements such as root growth, ground movement, or accidental chopping during landscaping activities are the suspects here. But how can you tell when your system is leaking? Indicators include wet spots, a sudden spike in your water bill, noticeable erosion near sprinkler heads and along pipelines, and a significant drop in water pressure. As for finding a leak in your underground sprinkler system, specialized equipment like a leak noise locator can save the day.
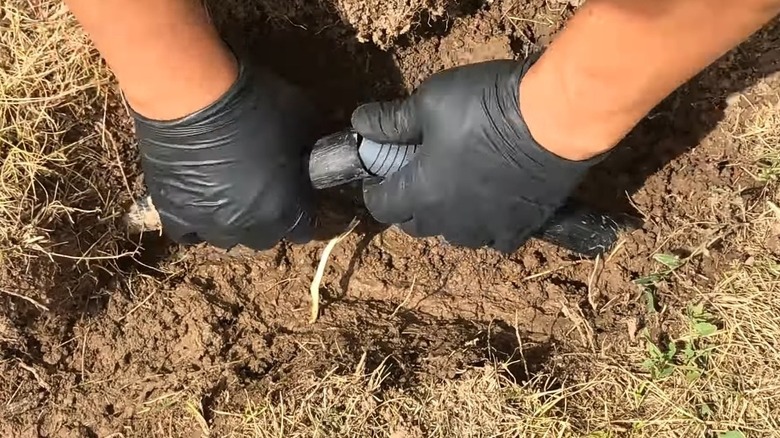
Repairing a leaky sprinkler system isn’t some witchcraft that only calls for a green thumb and an expert hat. The right tools, a dash of DIY spirit, and a willingness to get your hands a little muddy should get the job done. Having covered valves, next on our showdown is how to fix a leaking sprinkler head. A gentle scrub can work wonders, though replacement is necessary if the component is damaged. For broken lines, dig around the pipe break using a shovel, cut out the faulty segment using a PVC pipe cutter, and install a slip coupling. A propane torch should help soften the line for an easy fit, and your handsaw can serve as a PVC pipe cutter.


